 Cameron Davidson-Pilon
 We’ll go through the steps required to make your own koji - without using koji-kin (spores). You’ll still need a source of the koji, but that can be from inoculated rice you’ve previously purchased¹.
Theory
To grow koji successfully, we need to provide it with a healthy environment. This means: warm, humid, free of competing microbes, rich in nutrients, high in carbon source, and available oxygen. The substrate source can really be anything (one reason why koji is so amazing), but the enzymes produced will be a function of the substrate. For example, a substrate that is high in fats (lipids) will encourage the koji to produce more lipase. Pearled barley is one of the easiest substrates to get started with.
Protocol
Here’s what you’ll need beforehand:
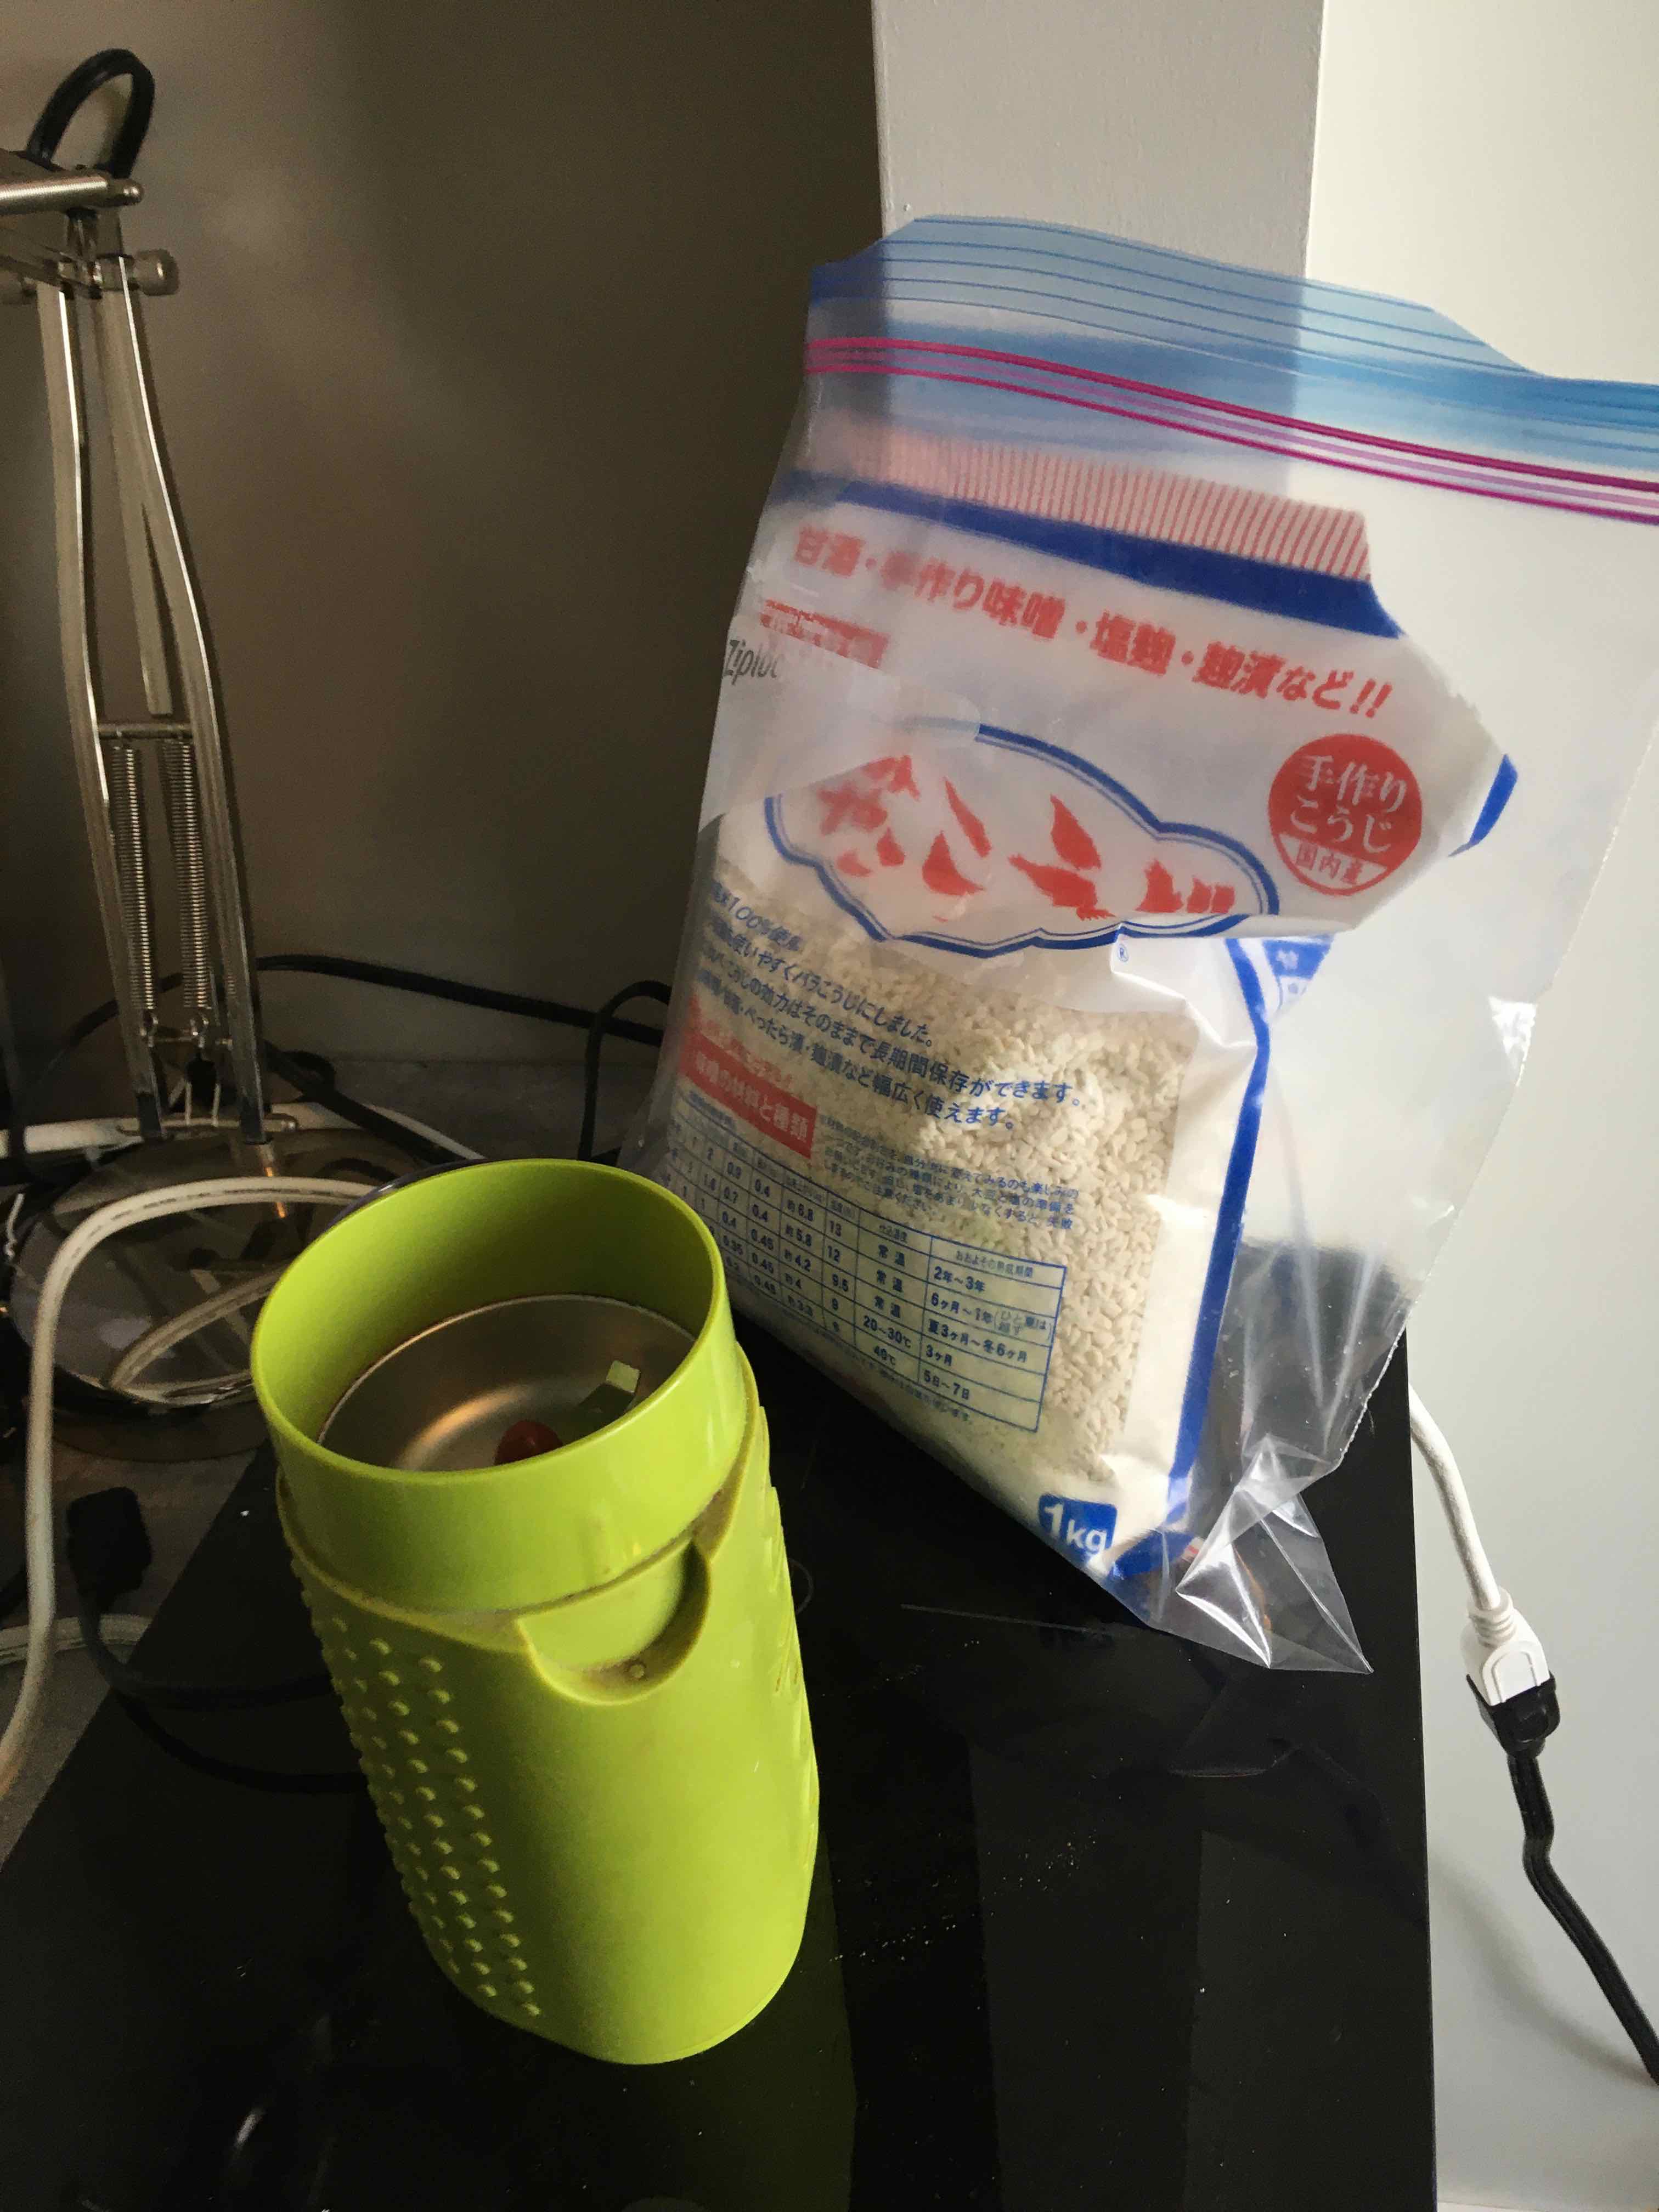
- 20g of inoculated koji and a coffee grinder, or pack of koji-spores
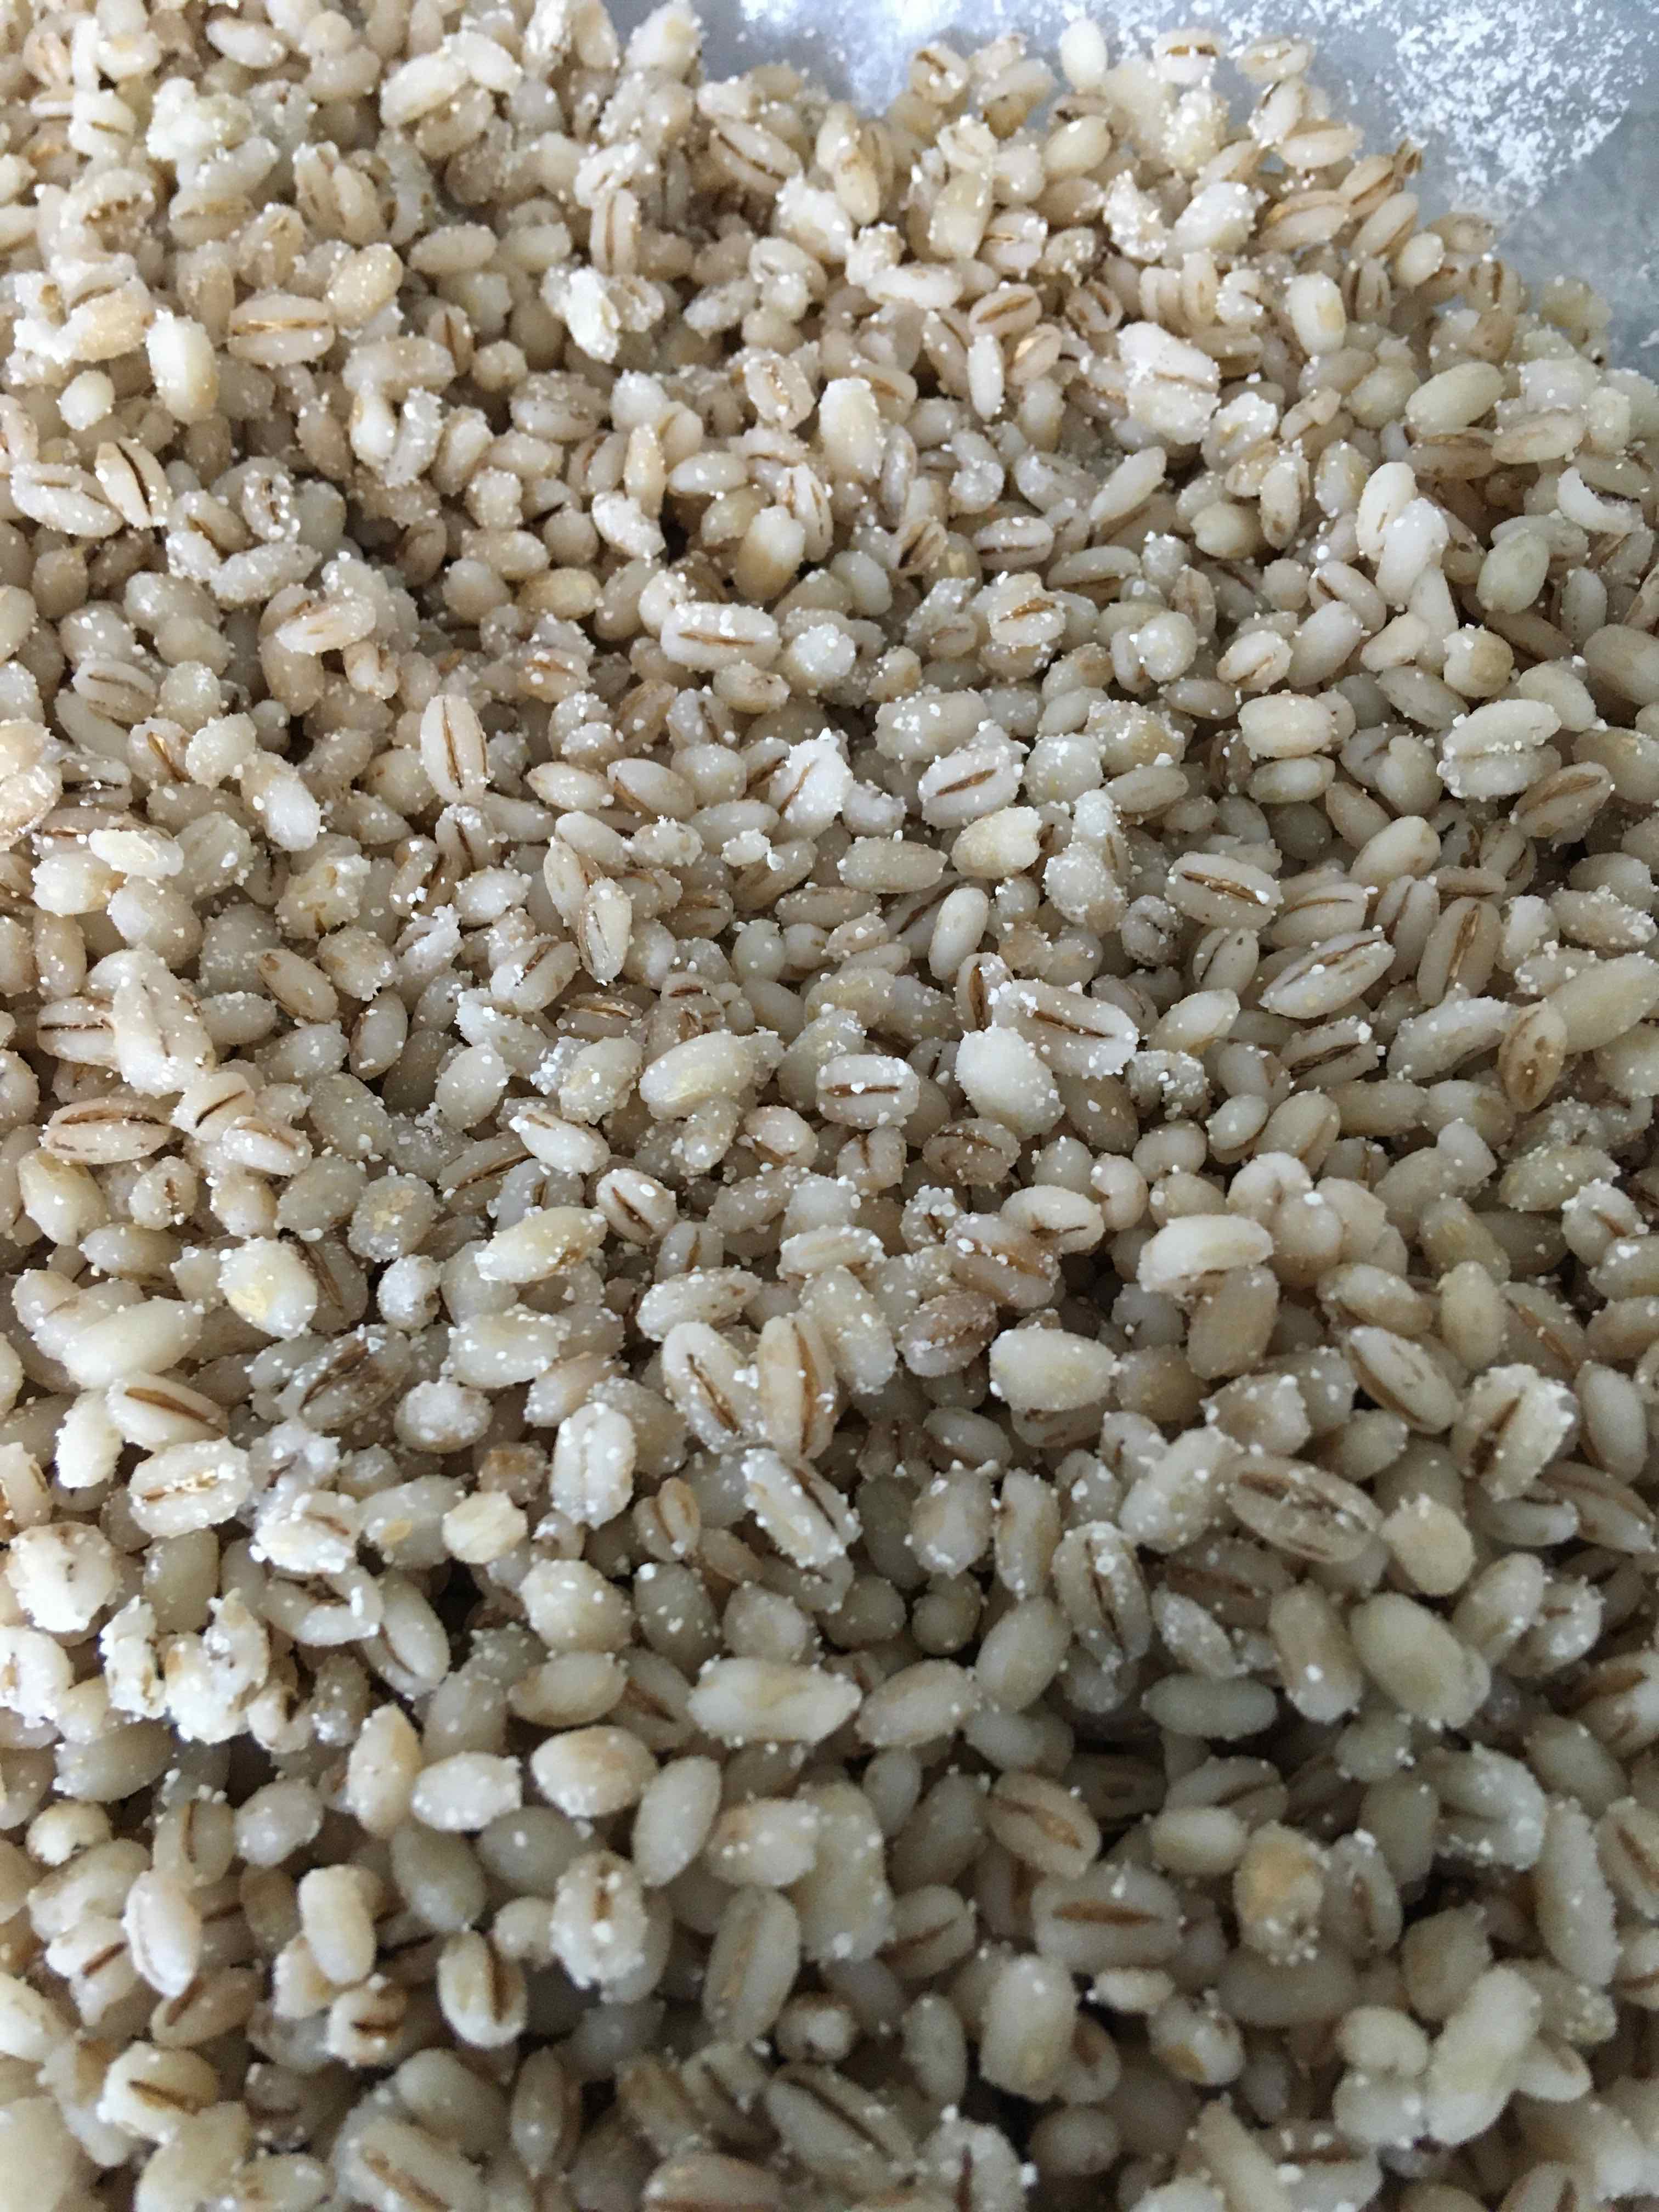
- 500g of a substrate: dried pearled barley or rice
- pressure cooker
- glass tray
- serving spoon
- clean towel
- incubator (see my post on making a cooler-incubator)
- sanitizer (ex: StarSan, 70% alcohol)
- spray bottle with water
1. Rinse thoroughly, and soak the substrate (rice or barley) for 10-14h. A few inches of water above the substrate is good.
2. Rinse the substrate. Place into a pressure cooker. Add about 0.5in of water.

3. Pressure cook for 15min, and remove from heat. Keep closed to avoid introducing contaminants. Let cool down for a few hours. Have a tea.
4. Sanitize the workspace, spoon, tray, coffee grinder (if needed), and inside of the incubator.
5. If using inoculated koji, grind in coffee grinder until powdered.
6. Once cooker is warm-to-the-touch: in a draft-free area, open the pressure cooker slightly and stick in a sanitized thermometer. Wait for it to read at most 45℃. When ready, transfer the substrate to the tray (the spoon helps, or your gloved hand). The transfer should cool the substrate down to less than 40℃, which is needed to not kill the koji inoculant. The grains should feel soft and easy to squish.

7. Sprinkle about half the koji powder onto the substrate, and mix with your hands. Sprinkle the next half on and mix again.
8. Form “peaks and troughs” with the substrate. Your goal is to maximize the surface area of the koji. Koji needs oxygen, and more surface area means more available oxygen.
9. Cover tray with dampened towel (rinse towel over water, wring out until only a few drops leave).
10. Place tray in incubator, and dig the temperature probe into the middle of the substrate. This is very important - your temperature readings will be off if it’s not inside the substrate. Close the incubator, and set the equilibrium temperature anywhere in 30℃ to 32℃. Modestly spray the towel and sides of the incubator with water.

11. Have a tea, the hard part is now done. Let sit for 24 hours, monitoring the temperature to make sure it doesn’t exit the temperature window. If it gets to warm, open the lid slightly. If you do this, spray the towel a few times with water (unless it looks like it’s dripping).
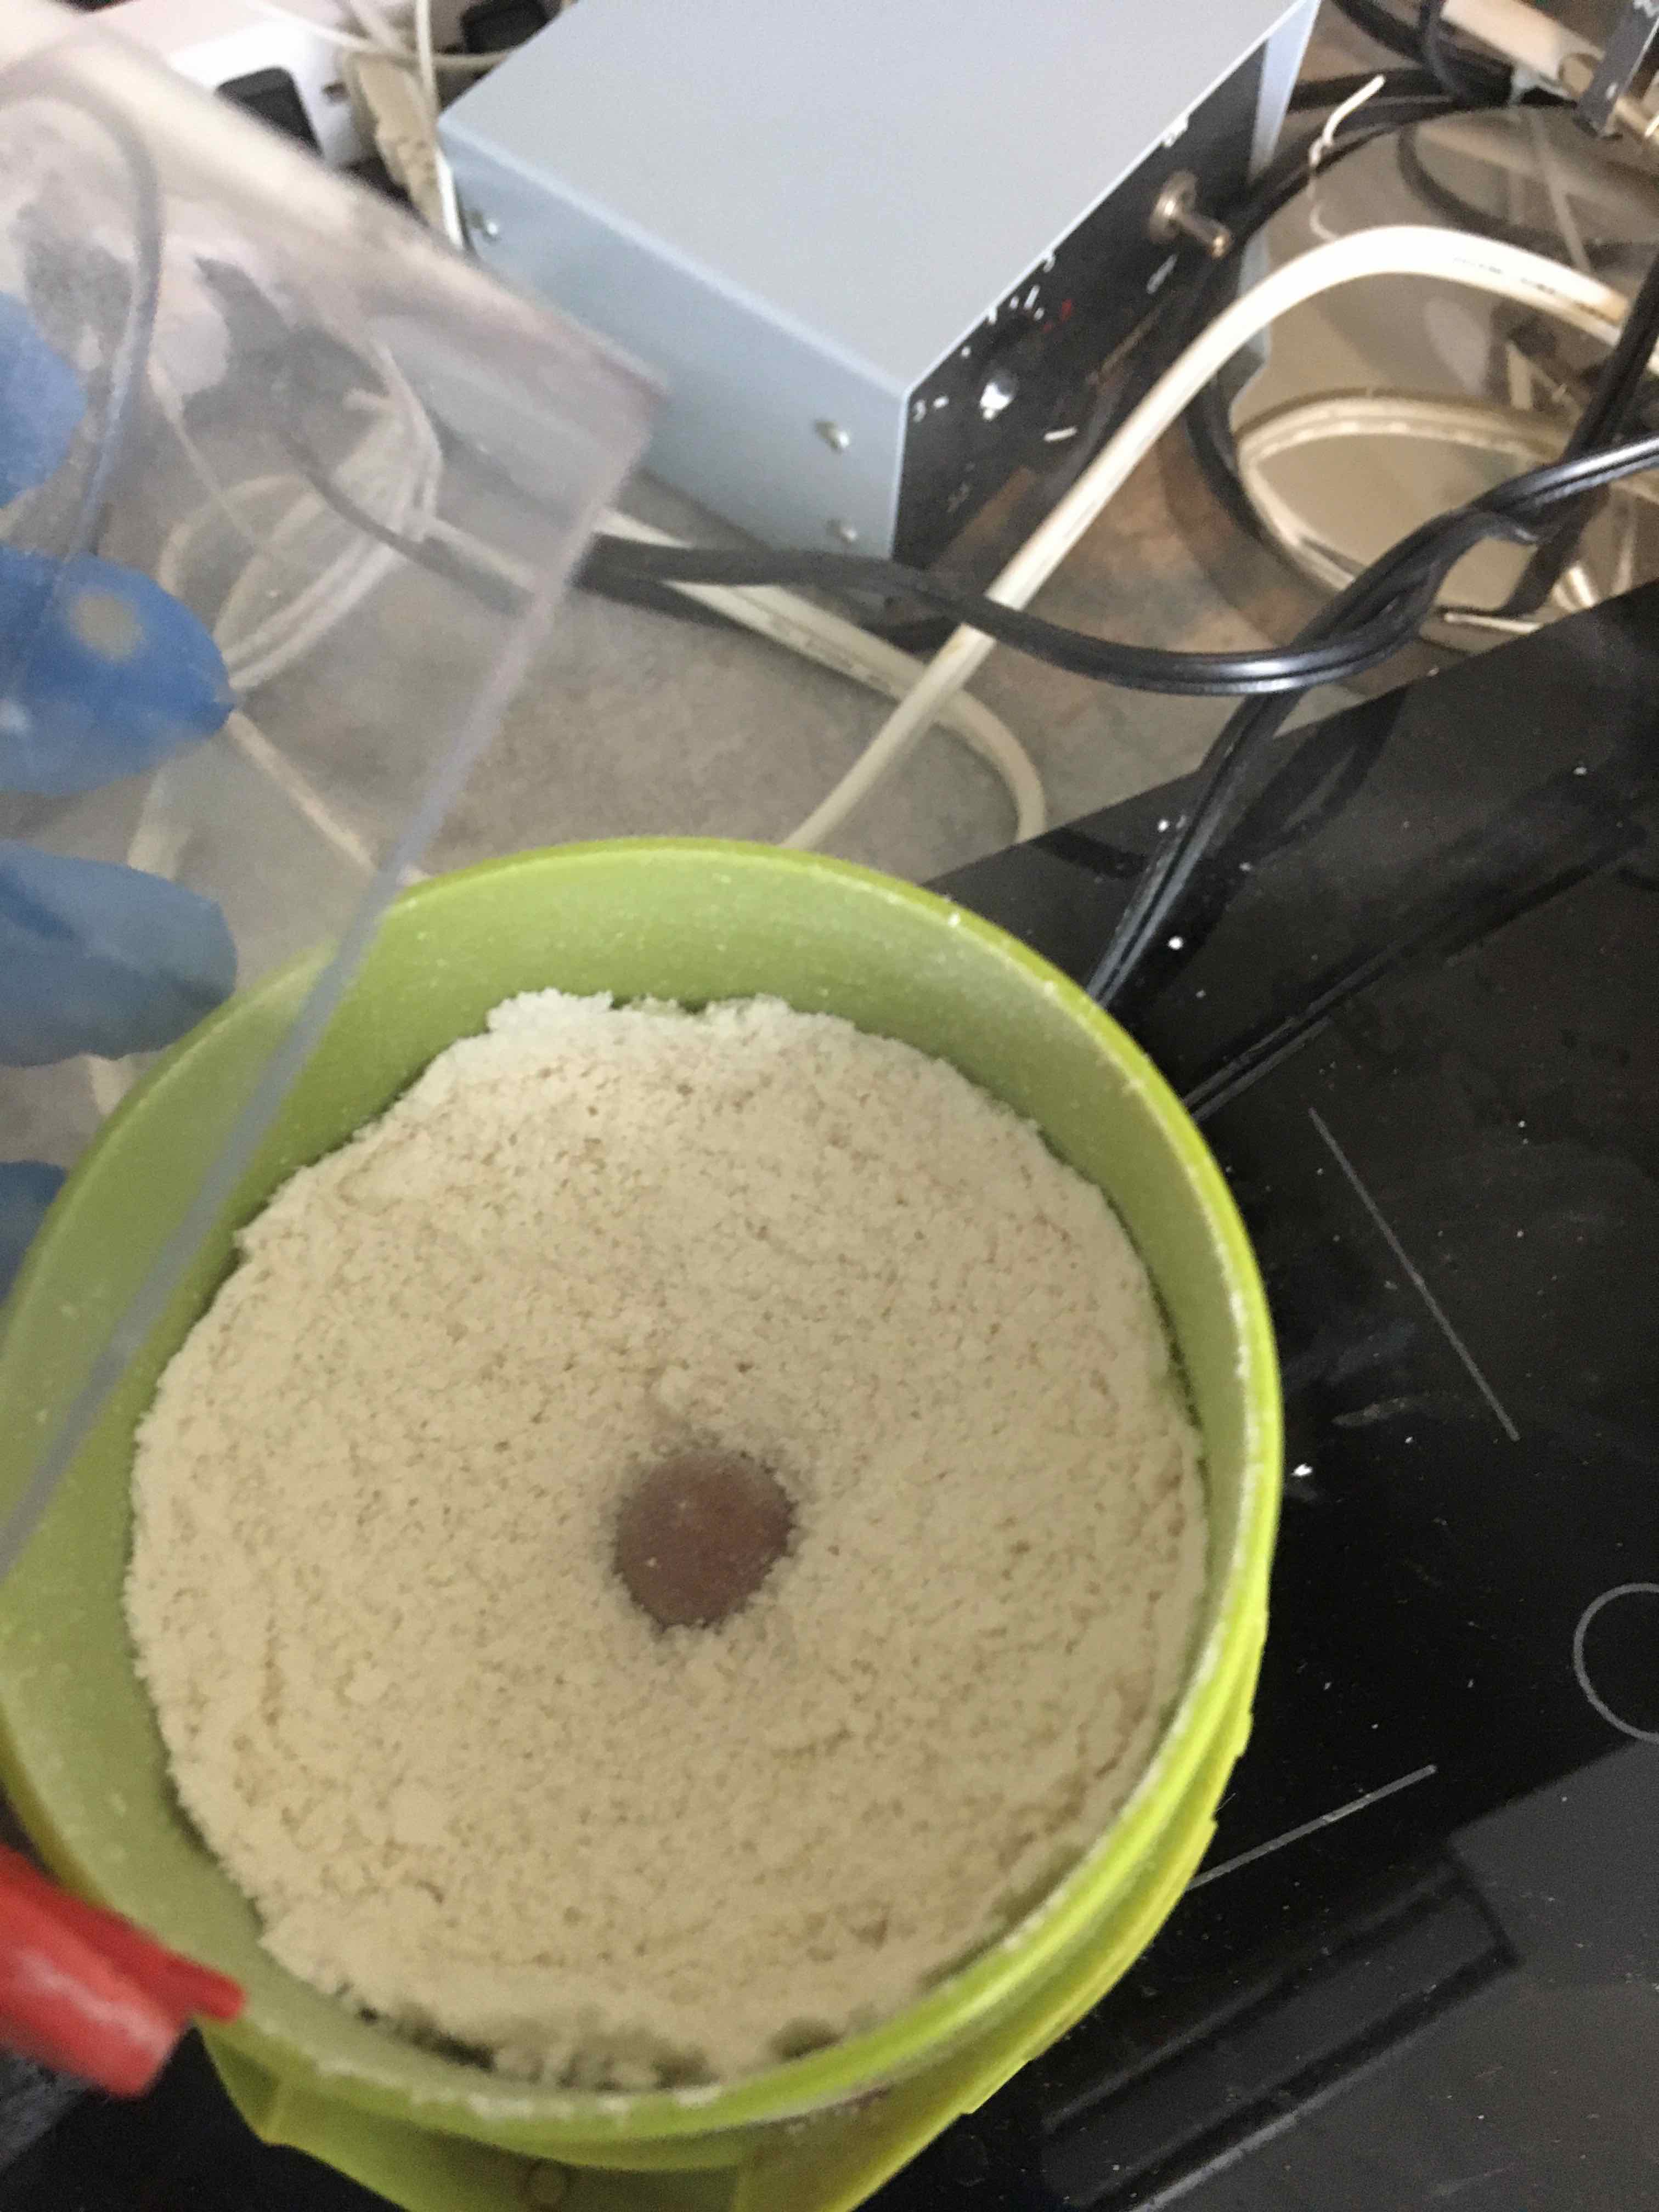
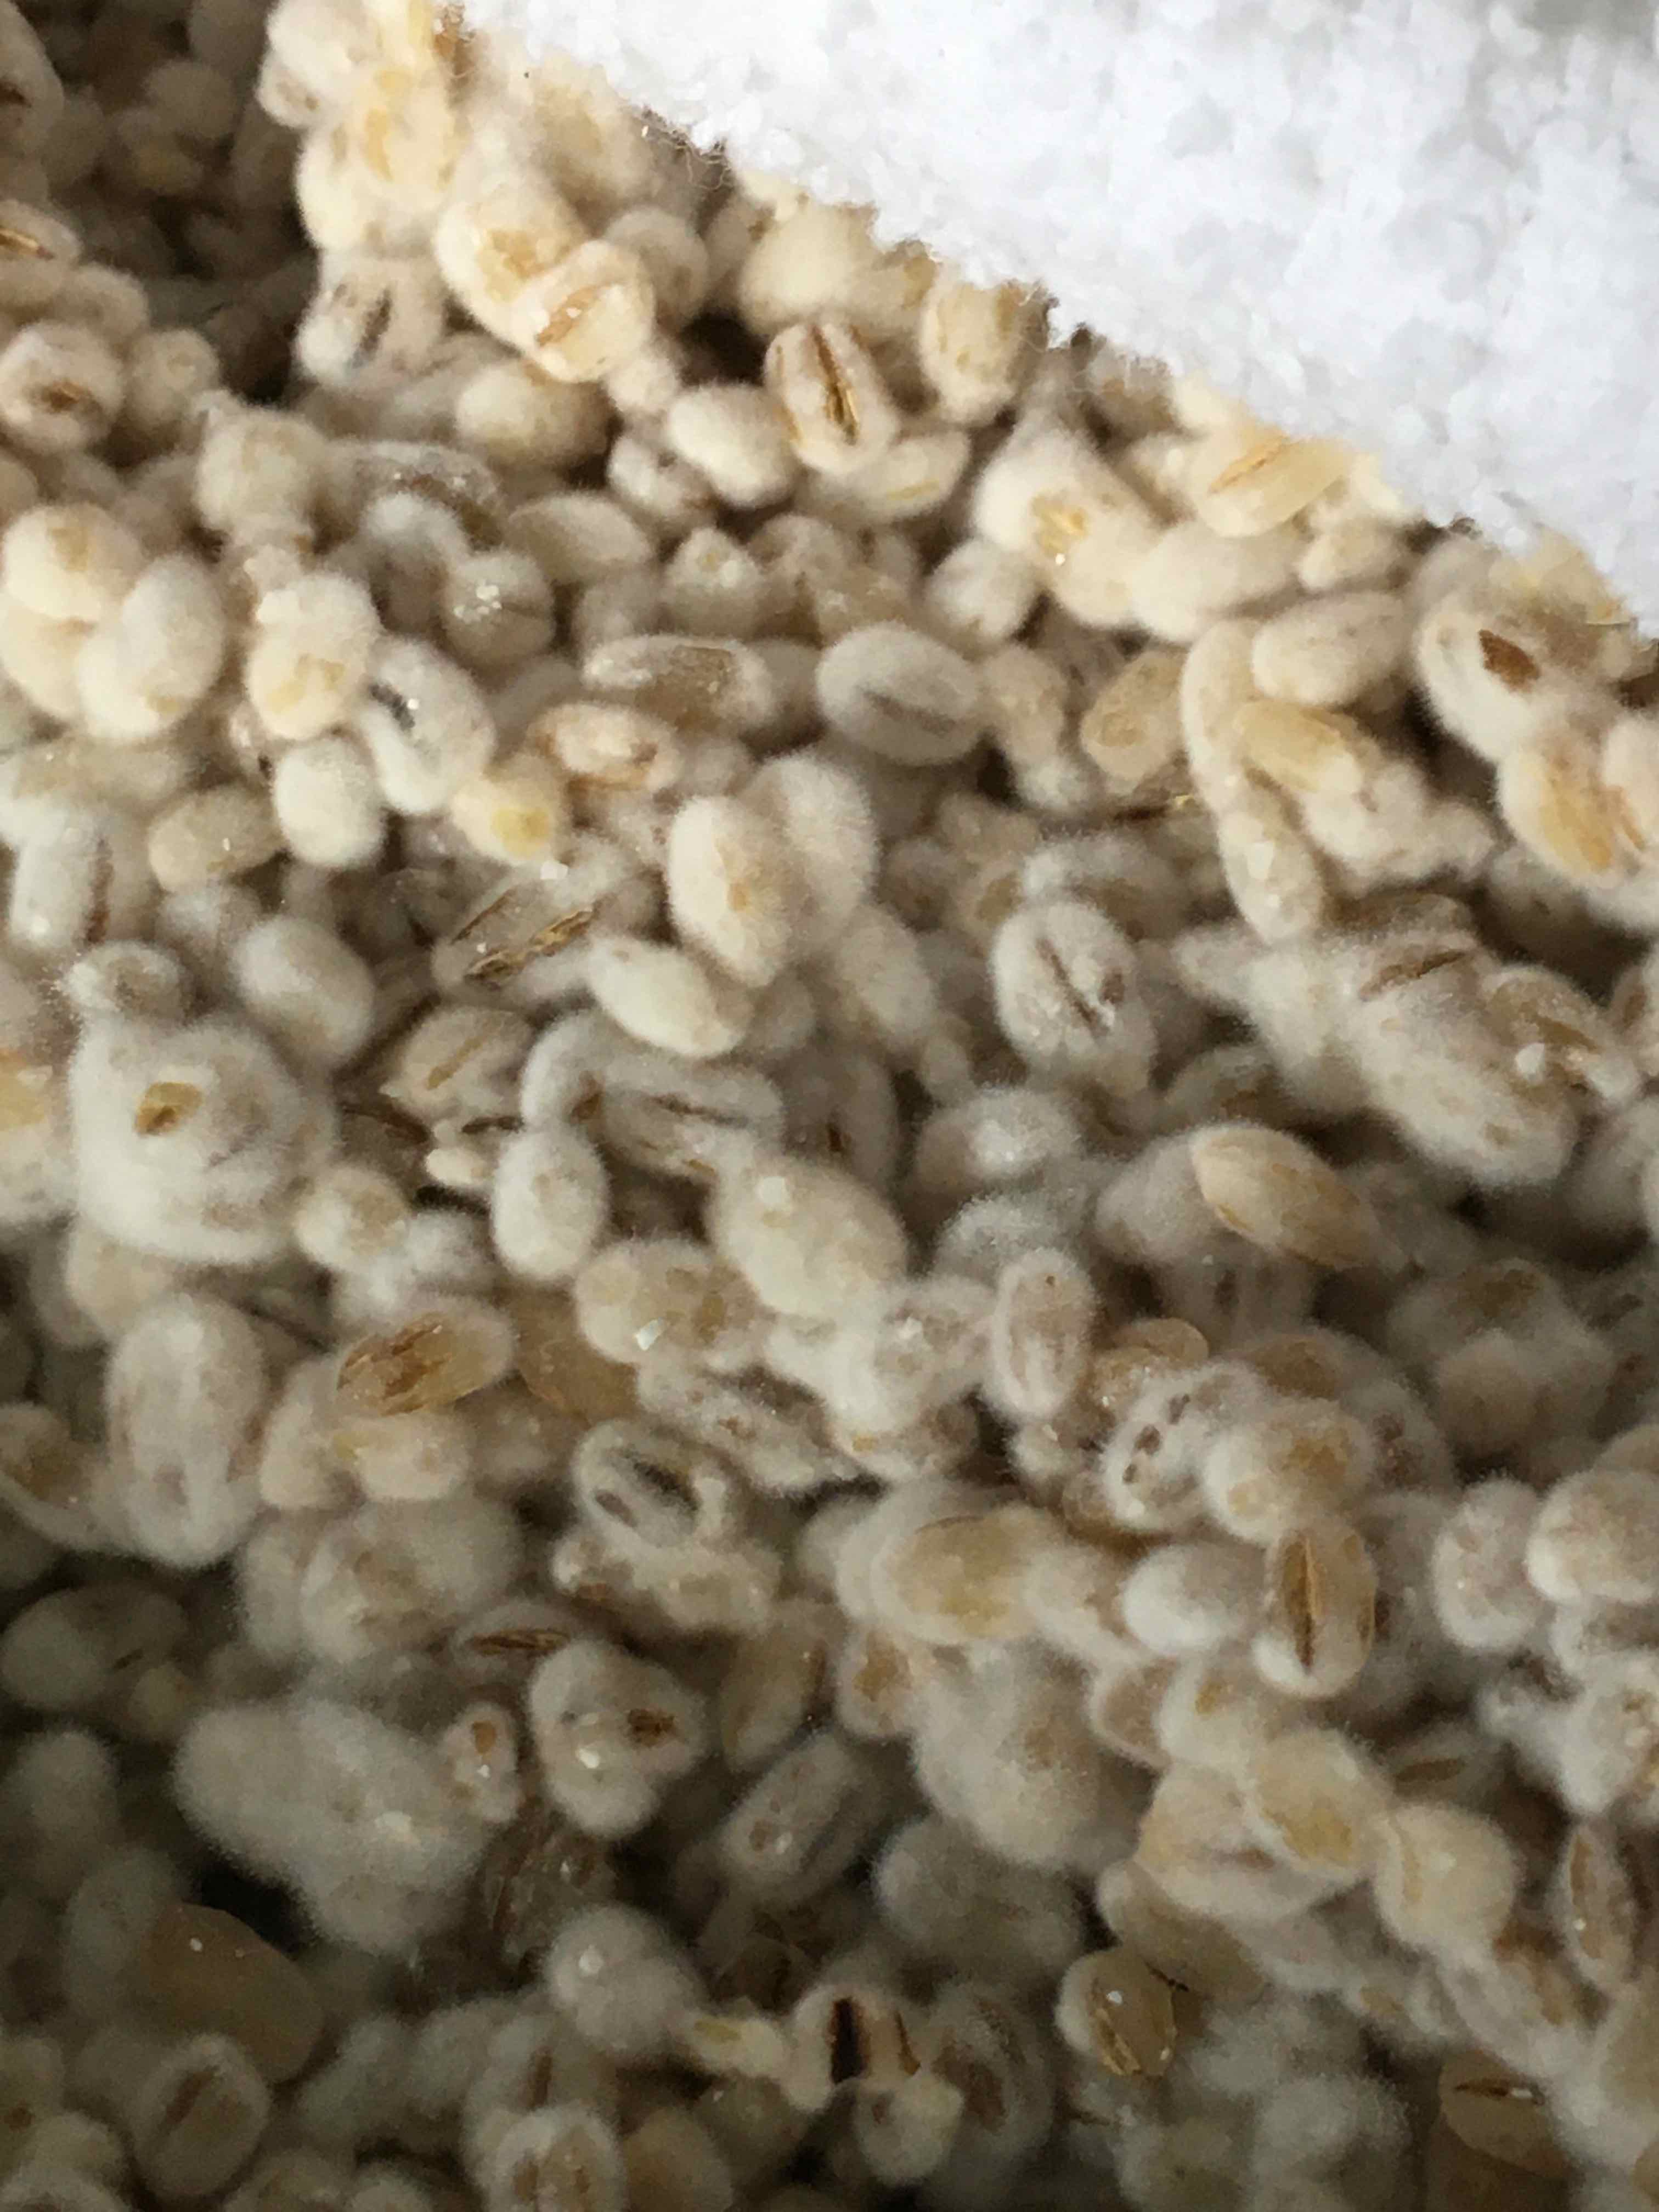
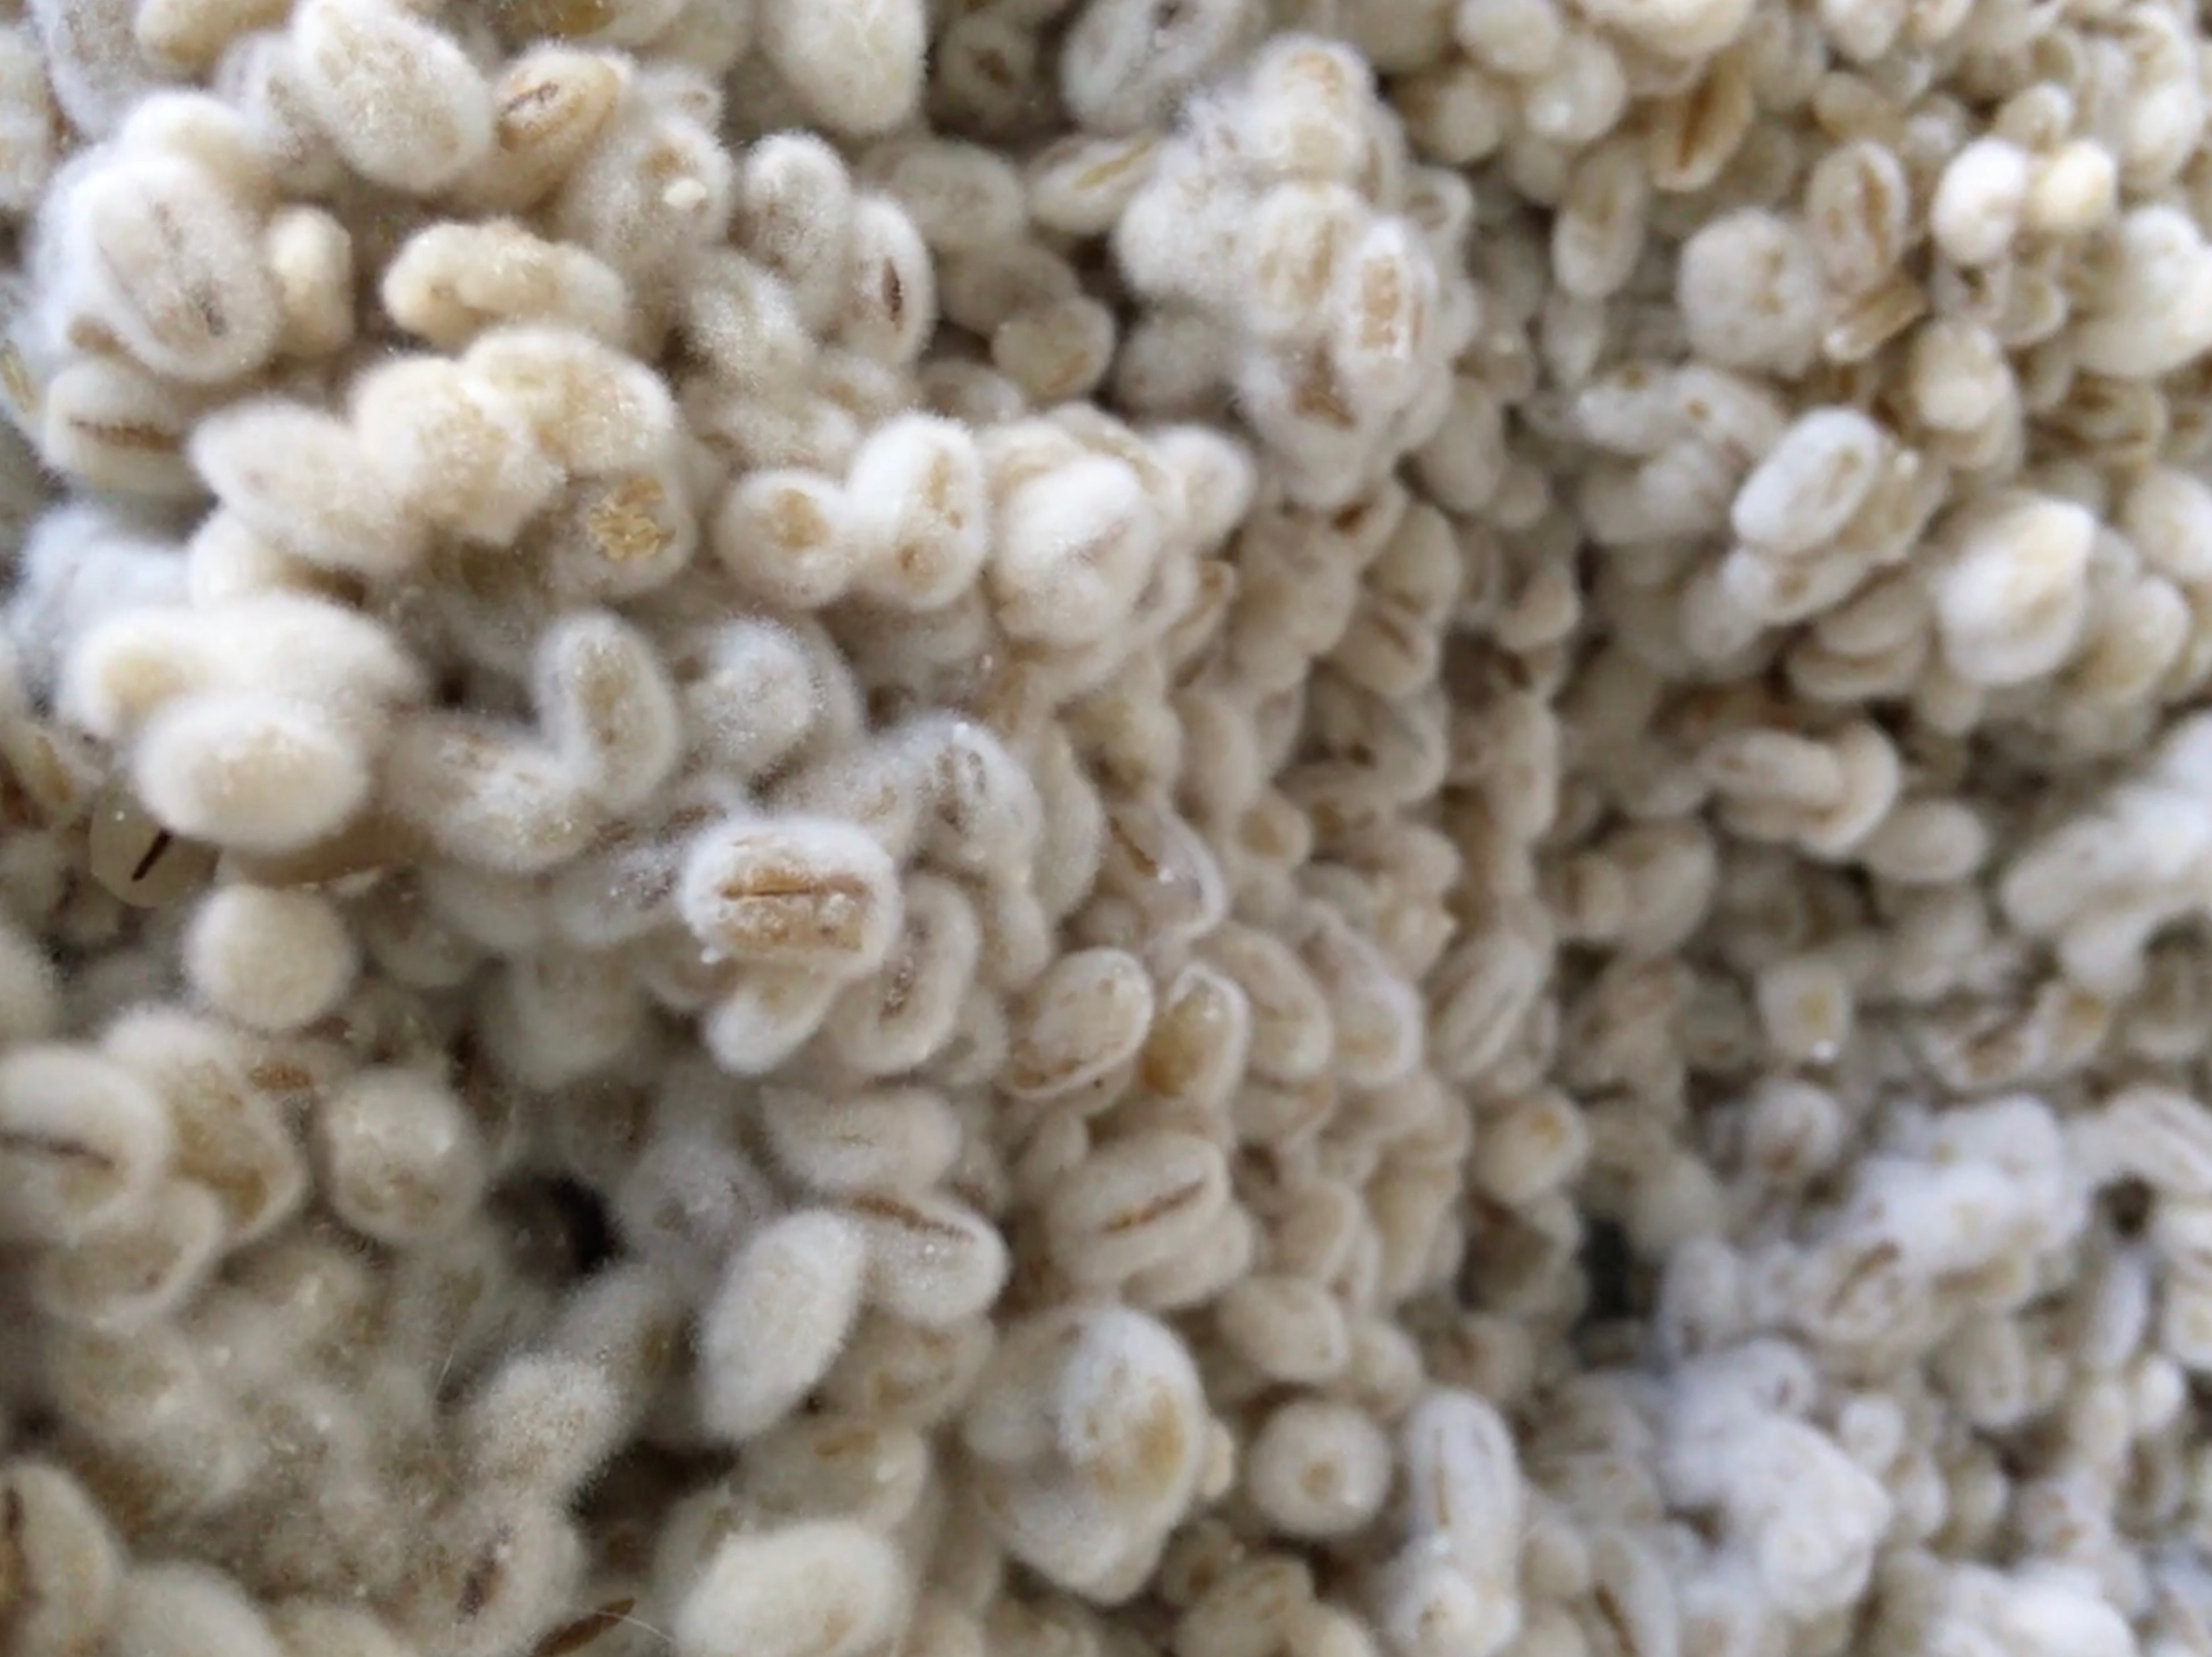
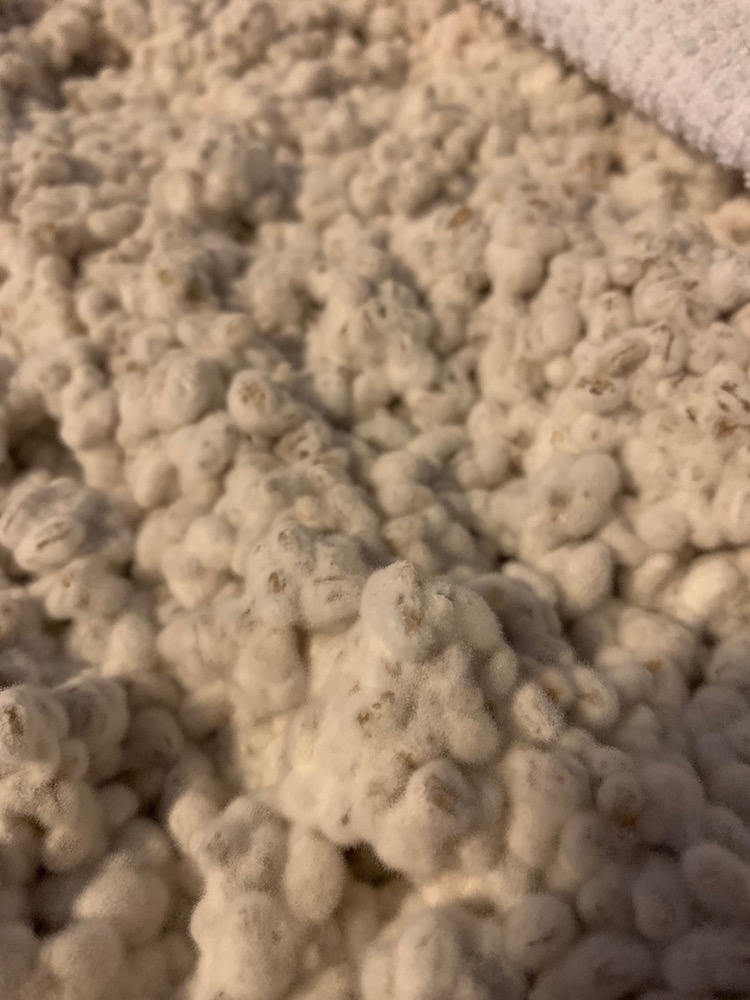
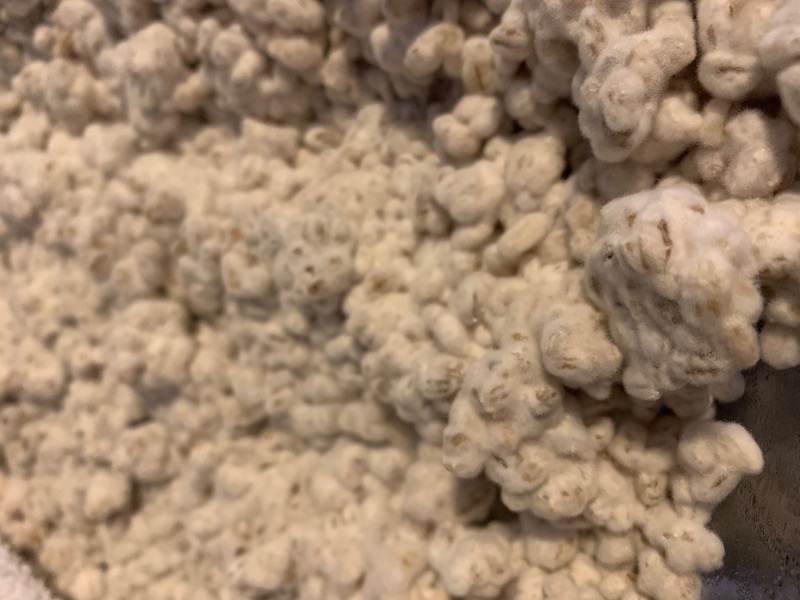
12. After 24 hours, remove the tray from the incubator. Hopefully you should see something like the following (if not, see step 13.)
13. If there is not much growth, check the dampness of the towel. If should still feel almost too wet. If it’s dry, or nearly dry, give it lots of sprays of water and go back to step 10.
14. If everything looks healthy, break the substrate up with your hands. You goal is to maximize surface area, and bring the bottom of the substrate (which should have less growth on it) closer to the surface.
15. Place the tray back into the incubator. The koji will be very active for the next 12 hours, so much so that it will be generating its own heat. If not monitored, the heat could spike to above 40℃ and kill the koji. Your goal is to not let that happen.
- Again, make sure the probe is embedded into a “nugget”
- If the temperature starts to exceed 34℃, crack the lid open. The temperature may very slowly come back down, so make sure you are not letting the towel dry out.
16. After 10h-12h, remove the koji from the incubator. It should be a “cake” of mycellium:
17. To halt the koji growth, cover with a lid and place in refrigerator.
18. Useful tip: after a few hours in the fridge, open the lid and wipe off the condensed moisture from the lid. This moisture can fall into the koji and create sour aromas and flavours later.
¹ I actually suspect the spores bought online have been selected to sporulate quickly. After all, the manufacturer is (unknowingly?) choosing koji that spores well, and not necessarily koji that produces lots of enzymes. For this reason, I prefer using blended koji rice (which has been selected for enzyme activity).