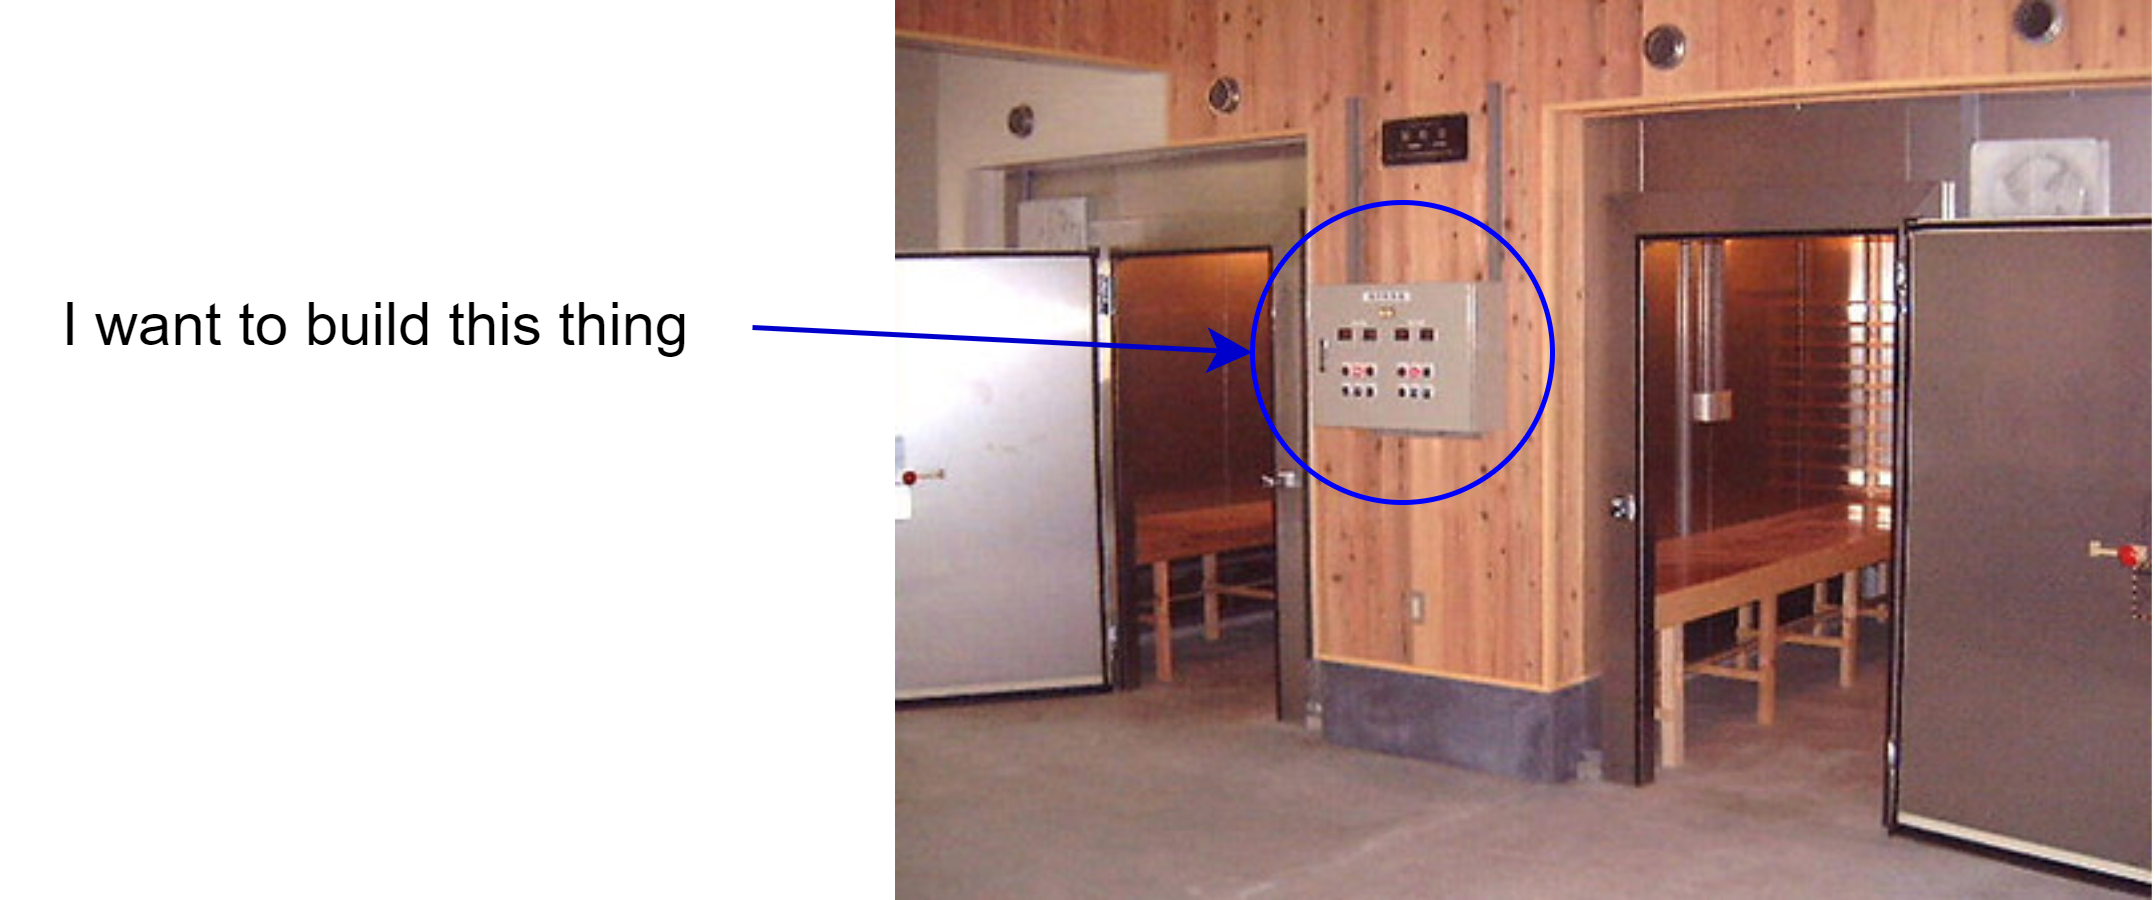
From time to time, I’ll hear about someone putting together an incubation room for growing koji. By now, most folks have realized that importing Japanese equipment is either too costly or too complicated.
And so, the only viable option is to make one yourself. We already covered the basic dimensions and thermal design of the room, so now let’s talk about our favourite part, the controls - using a PLC.
This is part 3 of “How koji is produced on industrial scales”.
(Click here for Part 2 - Design of the koji room)
(Click here for Part 1 - How koji is produced on industrial scales).
In short, I don’t have the space to build a full size koji room, so we’ll do the next best thing, and build the control panel. It doesn’t really matter what size the actual koji room is - the control system will be the same.
What is a PLC, and why use one?
Industry uses specialized computers called Programmable Logic Controllers, or PLCs, to control and automate all of their manufacturing and processes. These PLCs read and write signals to equipment and other pieces of instrumentation in the field (I/O) and can communicate to other PLCs and Supervisory Control and Data Acquisition (SCADA) systems.
On the surface, PLCs seem completely overpriced for their specs.
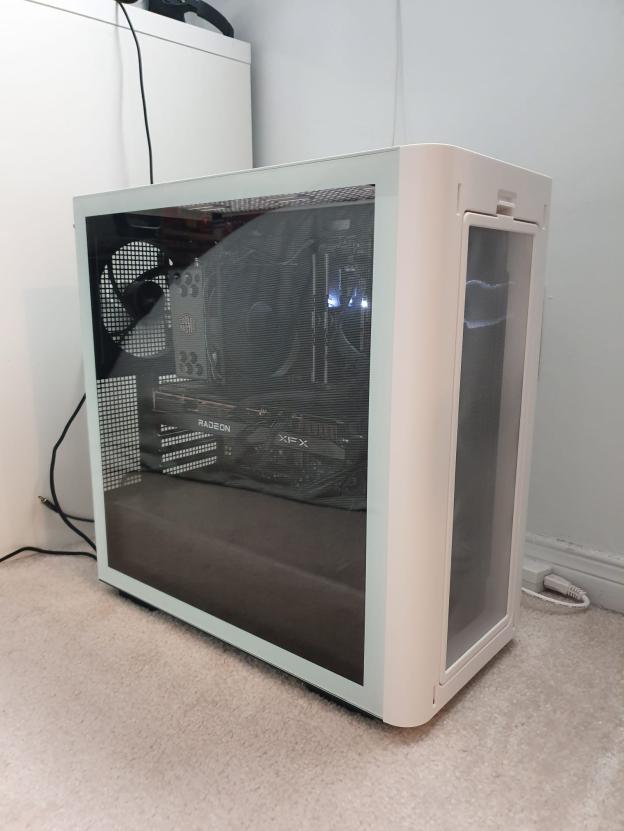
Consider this - recently I helped build a PC for a buddy of mine. The main components were:
- CPU: AMD Ryzen 5600X with 6 cores, 3.7GHz base clock boosting to 4.6GHz - around $200 CAD
- GPU: AMD RX 5600XT - around $400 CAD
- Windows 11 - around $100 CAD
This thing can run engineering simulations, design software, play many games at high settings 1440p/144FPS, and more. All in, with the motherboard, chassis, RAM, power supply, etc… this system cost around $1200 CAD.
Compare this with your typical small PLC. We’ll use the North America’s Allen Bradley as an example:
- CPU: Allen Bradley CompactLogix 1769-L33ER - around $4000 CAD
- I/O Modules: 16x Digital Inputs, 16x Digital Outputs, 8x Analog Inputs, 4x Analog Ouputs - around $3000 CAD
- Allen Bradley Programming Software - around $1200 CAD
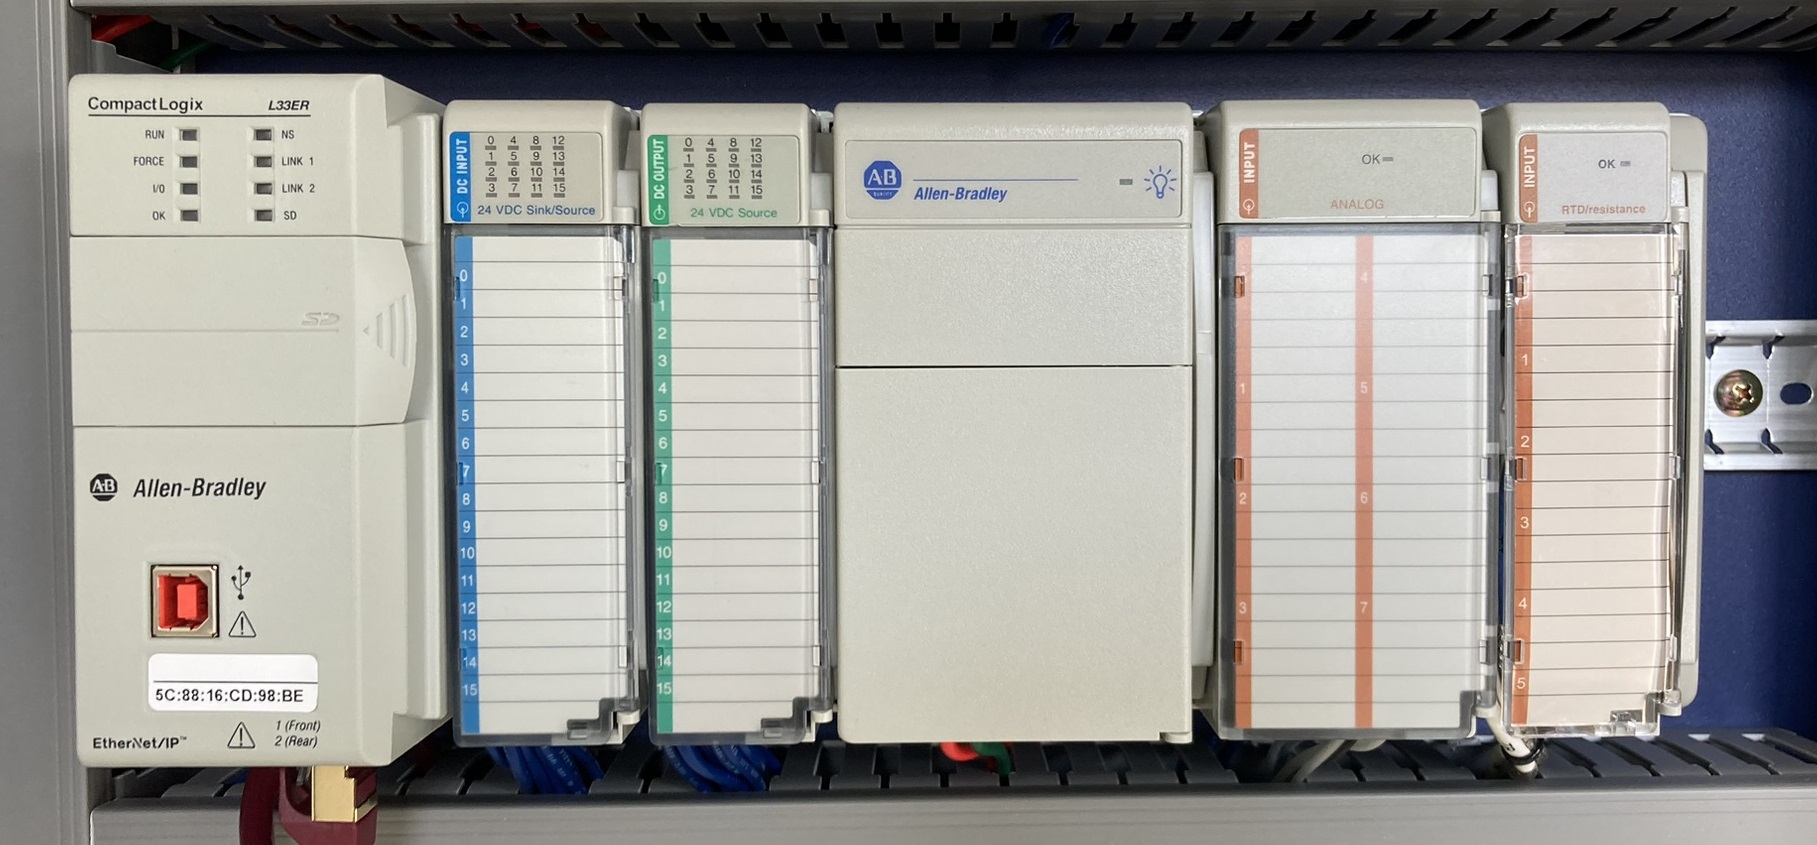
This thing can… switch stuff on and off? Take some measurements from sensors? All in, with power supplies, an electrical enclosure, terminal blocks, relays, pushbuttons, and communications, our example industrial panel will easily cost over $15000 CAD.
Why not just use a normal PC? Well, when you’re running a facility where downtime costs $1M per day, the last thing you want is for the production line to be brought down by a 100 dollar component. PLCs need to be rugged, dust, shock, and vibration-proof, often running non-stop for decades on end.
It’s not uncommon to show up to a wastewater treatment plant, open a control panel and find an old Allen Bradley SLC-500 installed in the early 90s still chugging along. For this kind of application (municipal infrastructure), you need something with that kind of reliability. The same goes for refineries, manufacturing plants, food processing plants, etc.
PLCs are also designed based on well-known industrial standards, making them easily compatible with industrial instrumentation and programming requirements. Examples:
- Want to measure temperature? Get a thermocouple (TC) or resistance temperature detector (RTD) input card, and just select the correct TC / RTD type in your PLC program. Or, use a TC/RTD transmitter for a 4-20mA analog input.
- Want to measure flow? Communicate from the flow meter via 4-20mA to your analog input. The flow meter will also come with outputs for fault status which you can wire to your digital inputs. You can even get additional diagnostics via the HART protocol.
- Want to implement a Proportional-Integral-Derivative (PID) controller? All PLCs come with this function block in software - just drag-and-drop it in, set your tuning parameters (K_p, K_i, and K_d) and you’re done.
Of course, you can still do these things with something like an Arduino or Raspberry Pi, but you would need some custom circuitry (like a HAT - “Hardware Attached on Top”) and programming to do so. PLCs, on the other hand, can be serviced quickly by standardized, off-the-shelf components and programmed by any instrumentation / PLC technician.
In summary, we use PLCs because they are:
- Extremely rugged
- Customizable, modular and easily repaired or replaced
- Serviceable and programmable by any competent technician
However, PLCs are no more than simple, real-time computing systems. Your average PLC is probably weaker in raw compute power than a Raspberry Pi, and multiple times the cost.
Why not just use a temperature and humidity controller?
If you’re just designing an incubator that just needs to be kept at a steady temperature and humidity, this is fine: save some money and use a temperature controller and humidity controller.
Most home koji-makers are already familiar with Inkbird’s temperature and humidity controllers.
These devices are nice and simple. For a temperature controller, you just set a temperature setpoint (SP) and a deadband. If the measured temperature (PV) is below the setpoint minus deadband, you turn a heating element ON via a relay. Once temperature reaches the setpoint, the heating element turns off.
This works really well for home fermentation, and I highly recommend Inkbird’s products, or an equivalent panel-mounted temperature controller.
Thank you, Inkbird (they are not a sponsor of this post).
But what if things get more complicated? What if you need to measure the product (e.g. koji) temperature, the room temperature, AND the relative humidity, and you have some complicated time-dependent logic for all three? What if you need to use a heating element with a variable output on a PID loop? And then add a CO2 sensor with ventilation controls? And then add a load cell to measure live product weight?
Take the standard natto production graph, for example. The room temperature, humidity, and product temperature setpoints are constantly changing as a function of time.
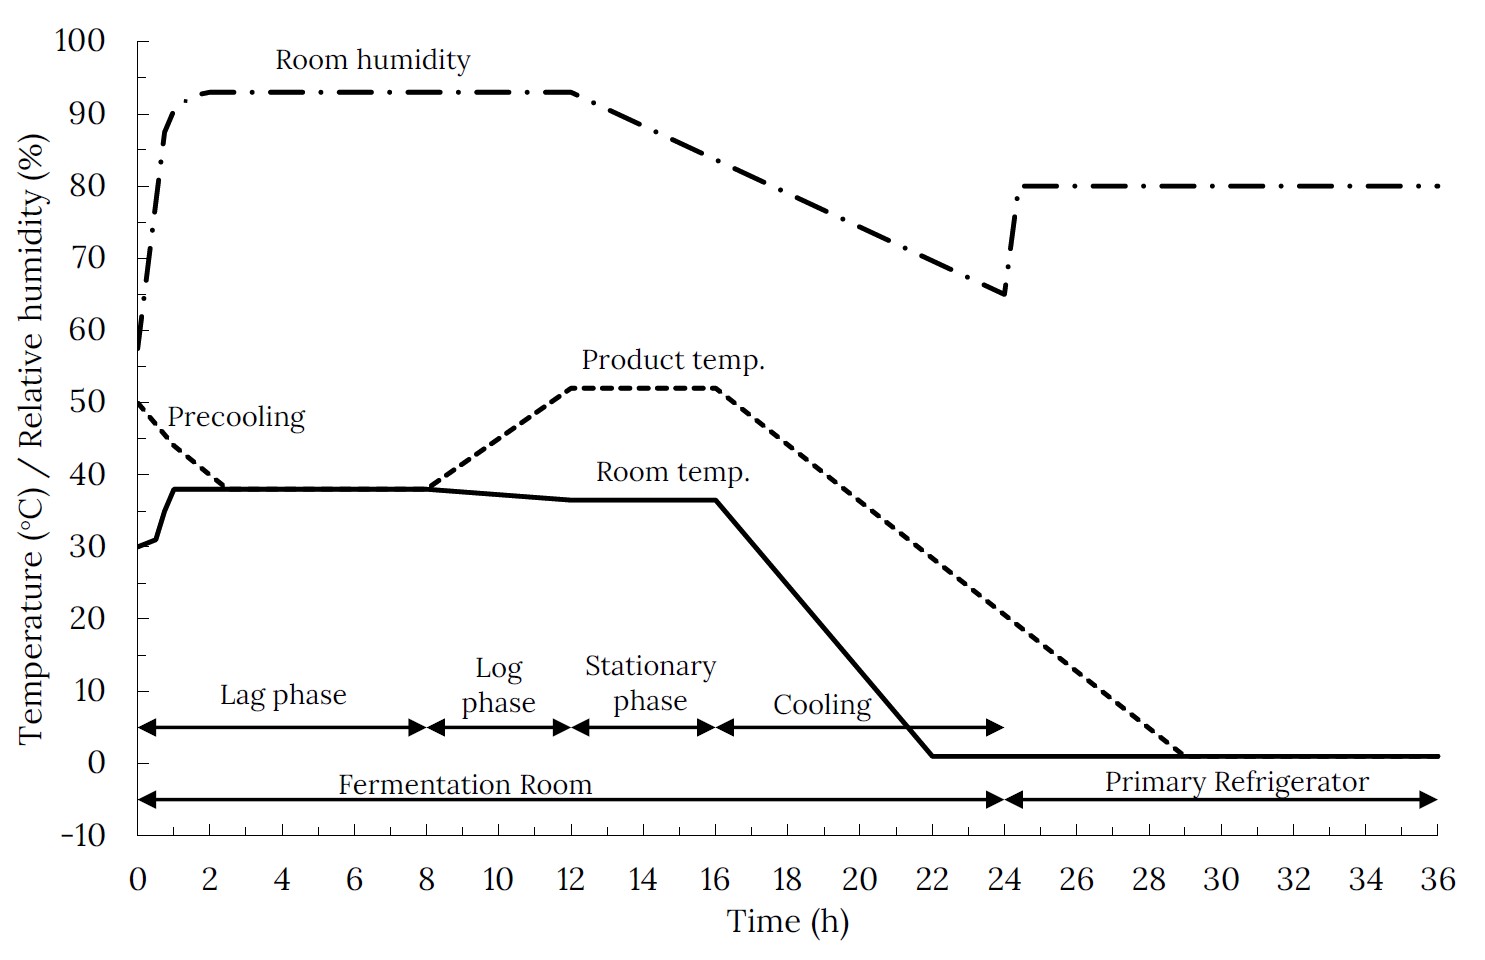
Not something you can pull of with a simple controller without sitting in front of it and changing the setpoint constantly.
Building a PLC system
Hopefully you’re convinced by now, so let’s put together a PLC system.
Inputs and Outputs
Our first system will be simple. The PLC will have the following I/O:
- Analog Inputs (AI): Room RH (4-20mA), Room CO2 (4-20mA), Room temperature (Type K Thermocouple), and Product Temperature (Type K Thermocouple).
- Analog Outputs (AO): For now, none. In the future, we’ll add one AO from a PID loop to control a variable heating element, and possibly variable-rate ventilation.
- Digital Inputs (DI): For now, none. In the future, we can add some basic pushbuttons and selector switches that let the user reset the system, stop everything, and select between LOCAL (panel control) and REMOTE (SCADA control).
- Digital Outputs (DO): We’ll wire digital outputs to relays to control: Heating, Humidification, Cooling, and Ventilation.
Hardware Selection
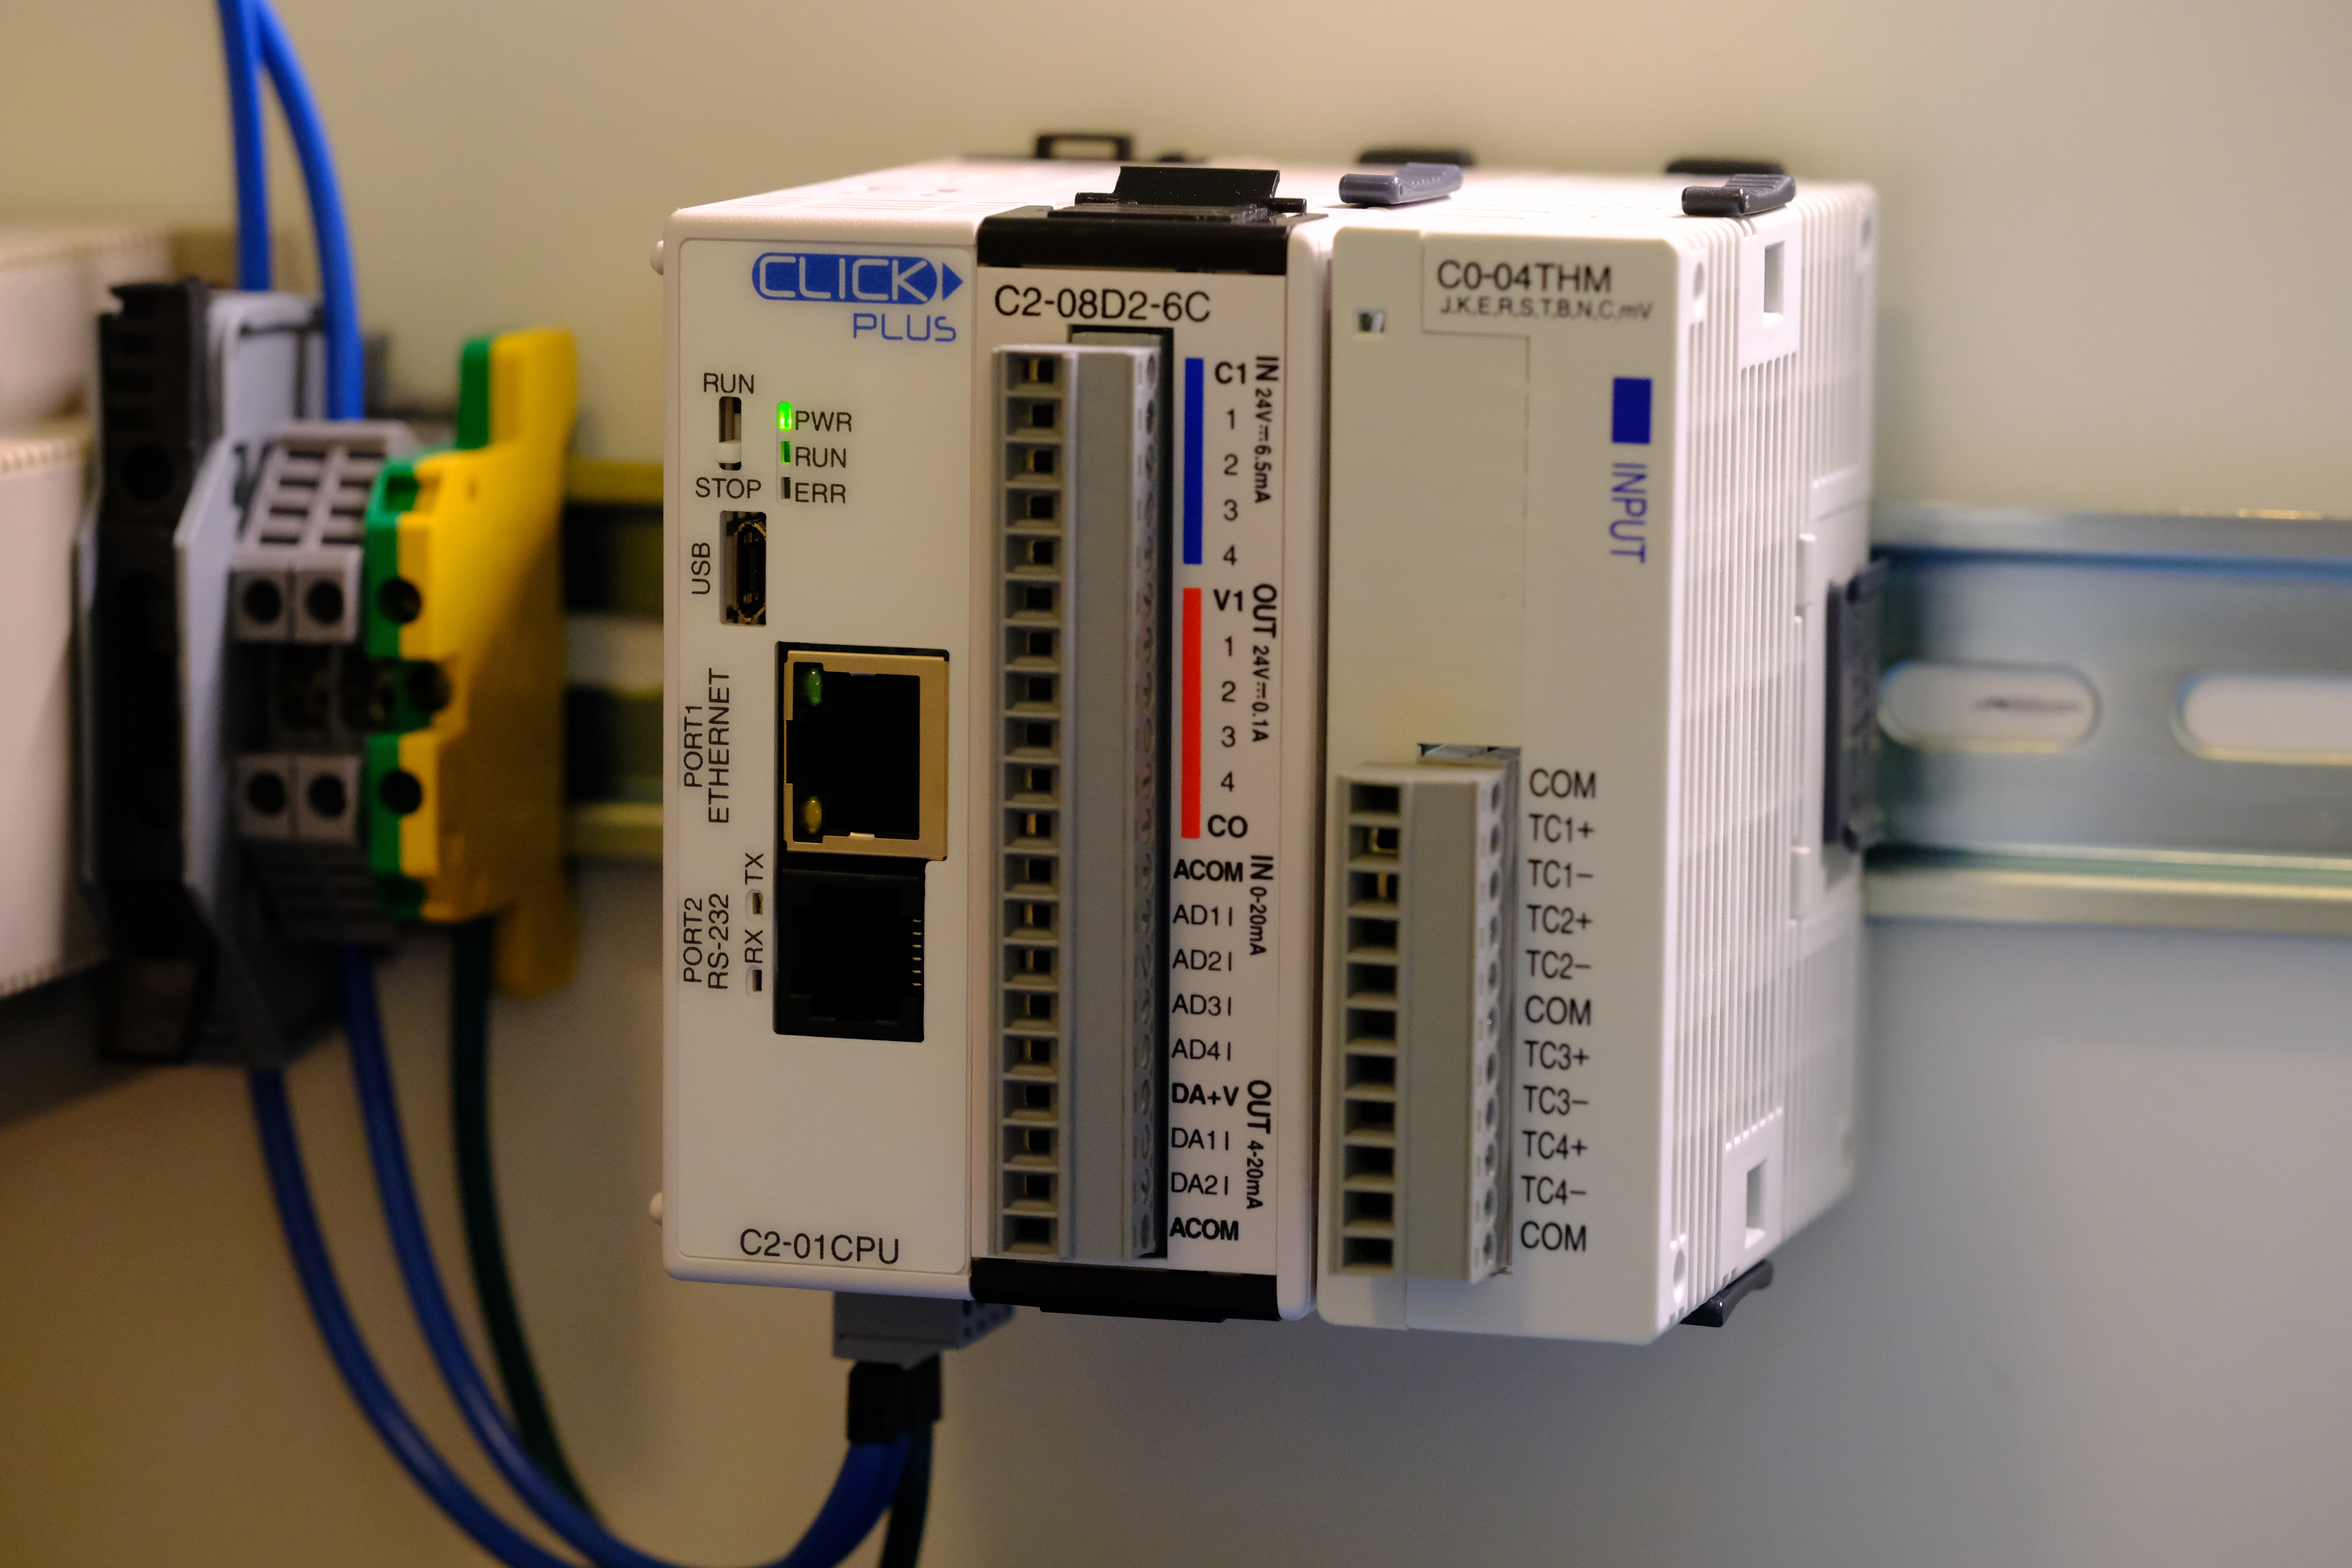
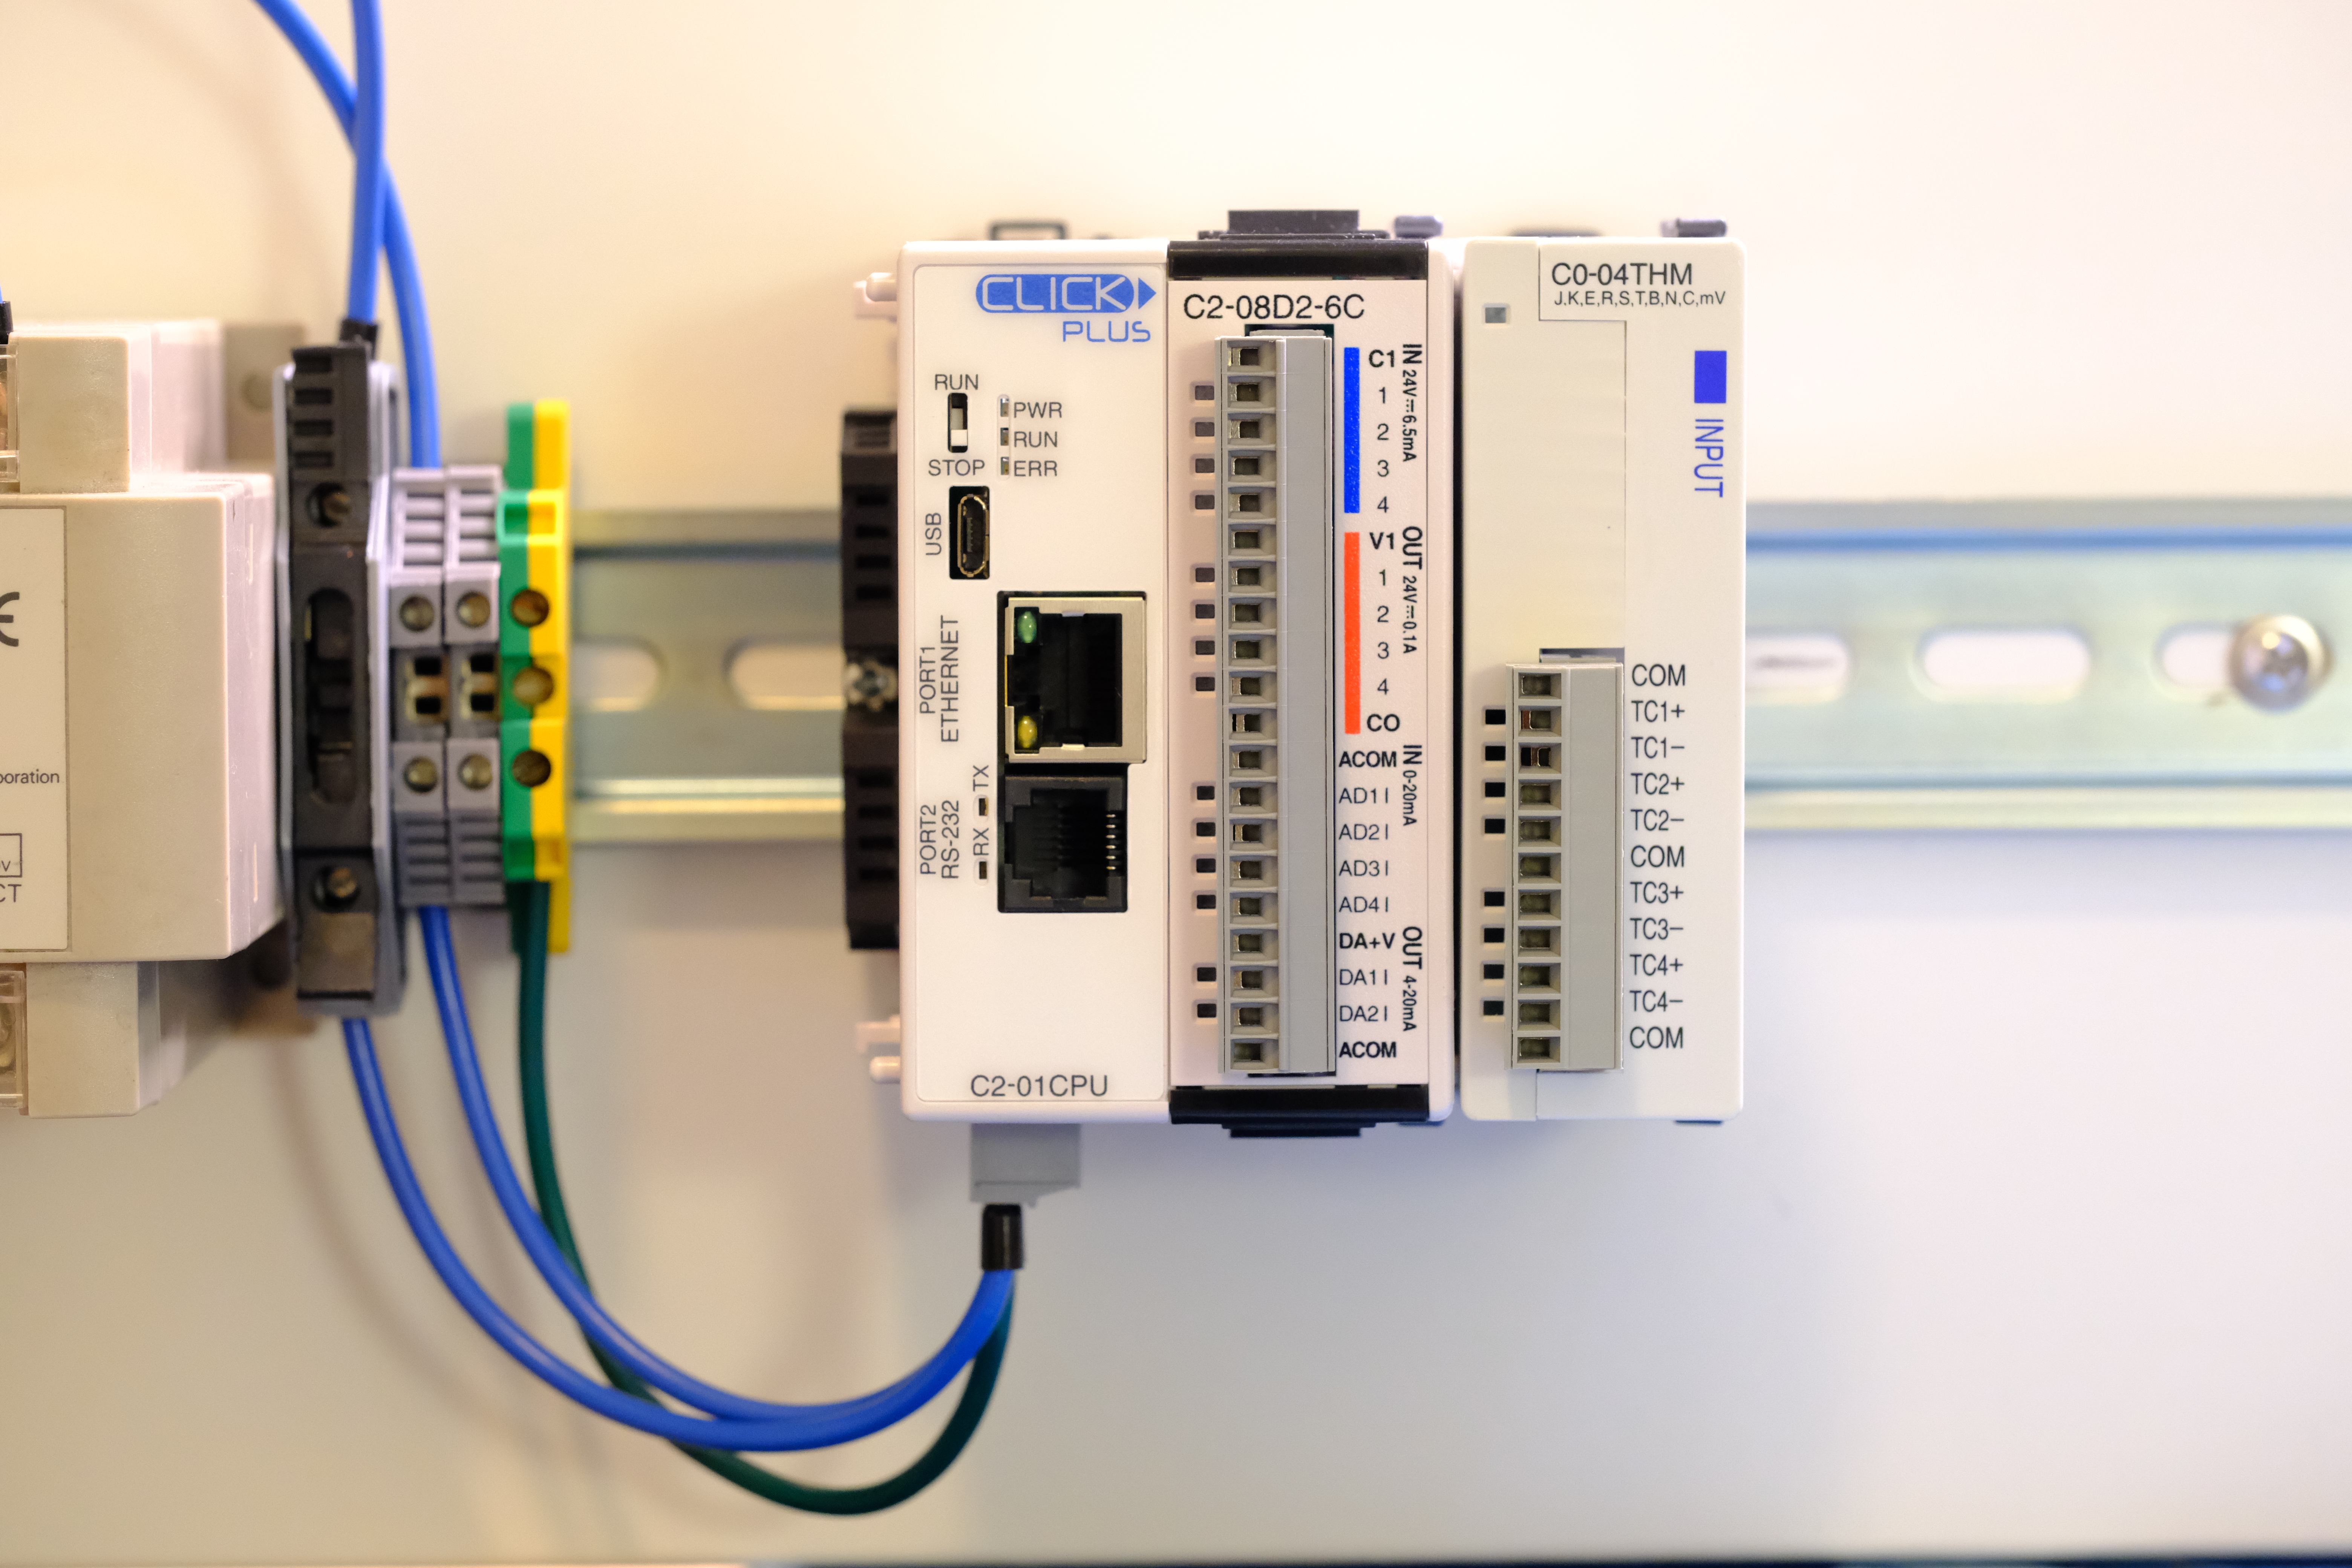
I won’t be forking over $15000 to put together an Allen Bradley system. Thankfully, our koji room is “light industrial” at best, so we can get away with a MUCH cheaper and simpler PLC. In the spirit of making Japanese food, we’ll be using a Japanese PLC line called Koyo Click. Here’s the main components of our build to accommodate our I/O:
- Koyo Click C2-01CPU: Click Plus Ethernet - $97 USD
- Koyo Click C2-08D2-6C: I/O module with 4x DIs, 4x DOs, 4x AIs (4-20mA), and 2x AOs (4-20mA) - $90 USD
- Koyo Click C0-04THM: Input module with 4x TCs - $217 USD (TC/RTD modules are so expensive…)
Bonus: programming software for Koyo Click is free!
Thank you, Automation Direct (they are not a sponsor of this post).
Since this project is mostly ‘for fun’, we can also also get away with refurbished or used industrial components. Our target budget for this project will be around $1200 CAD - like your average home PC build, and not out of reach for small scale koji/natto/mushroom makers.
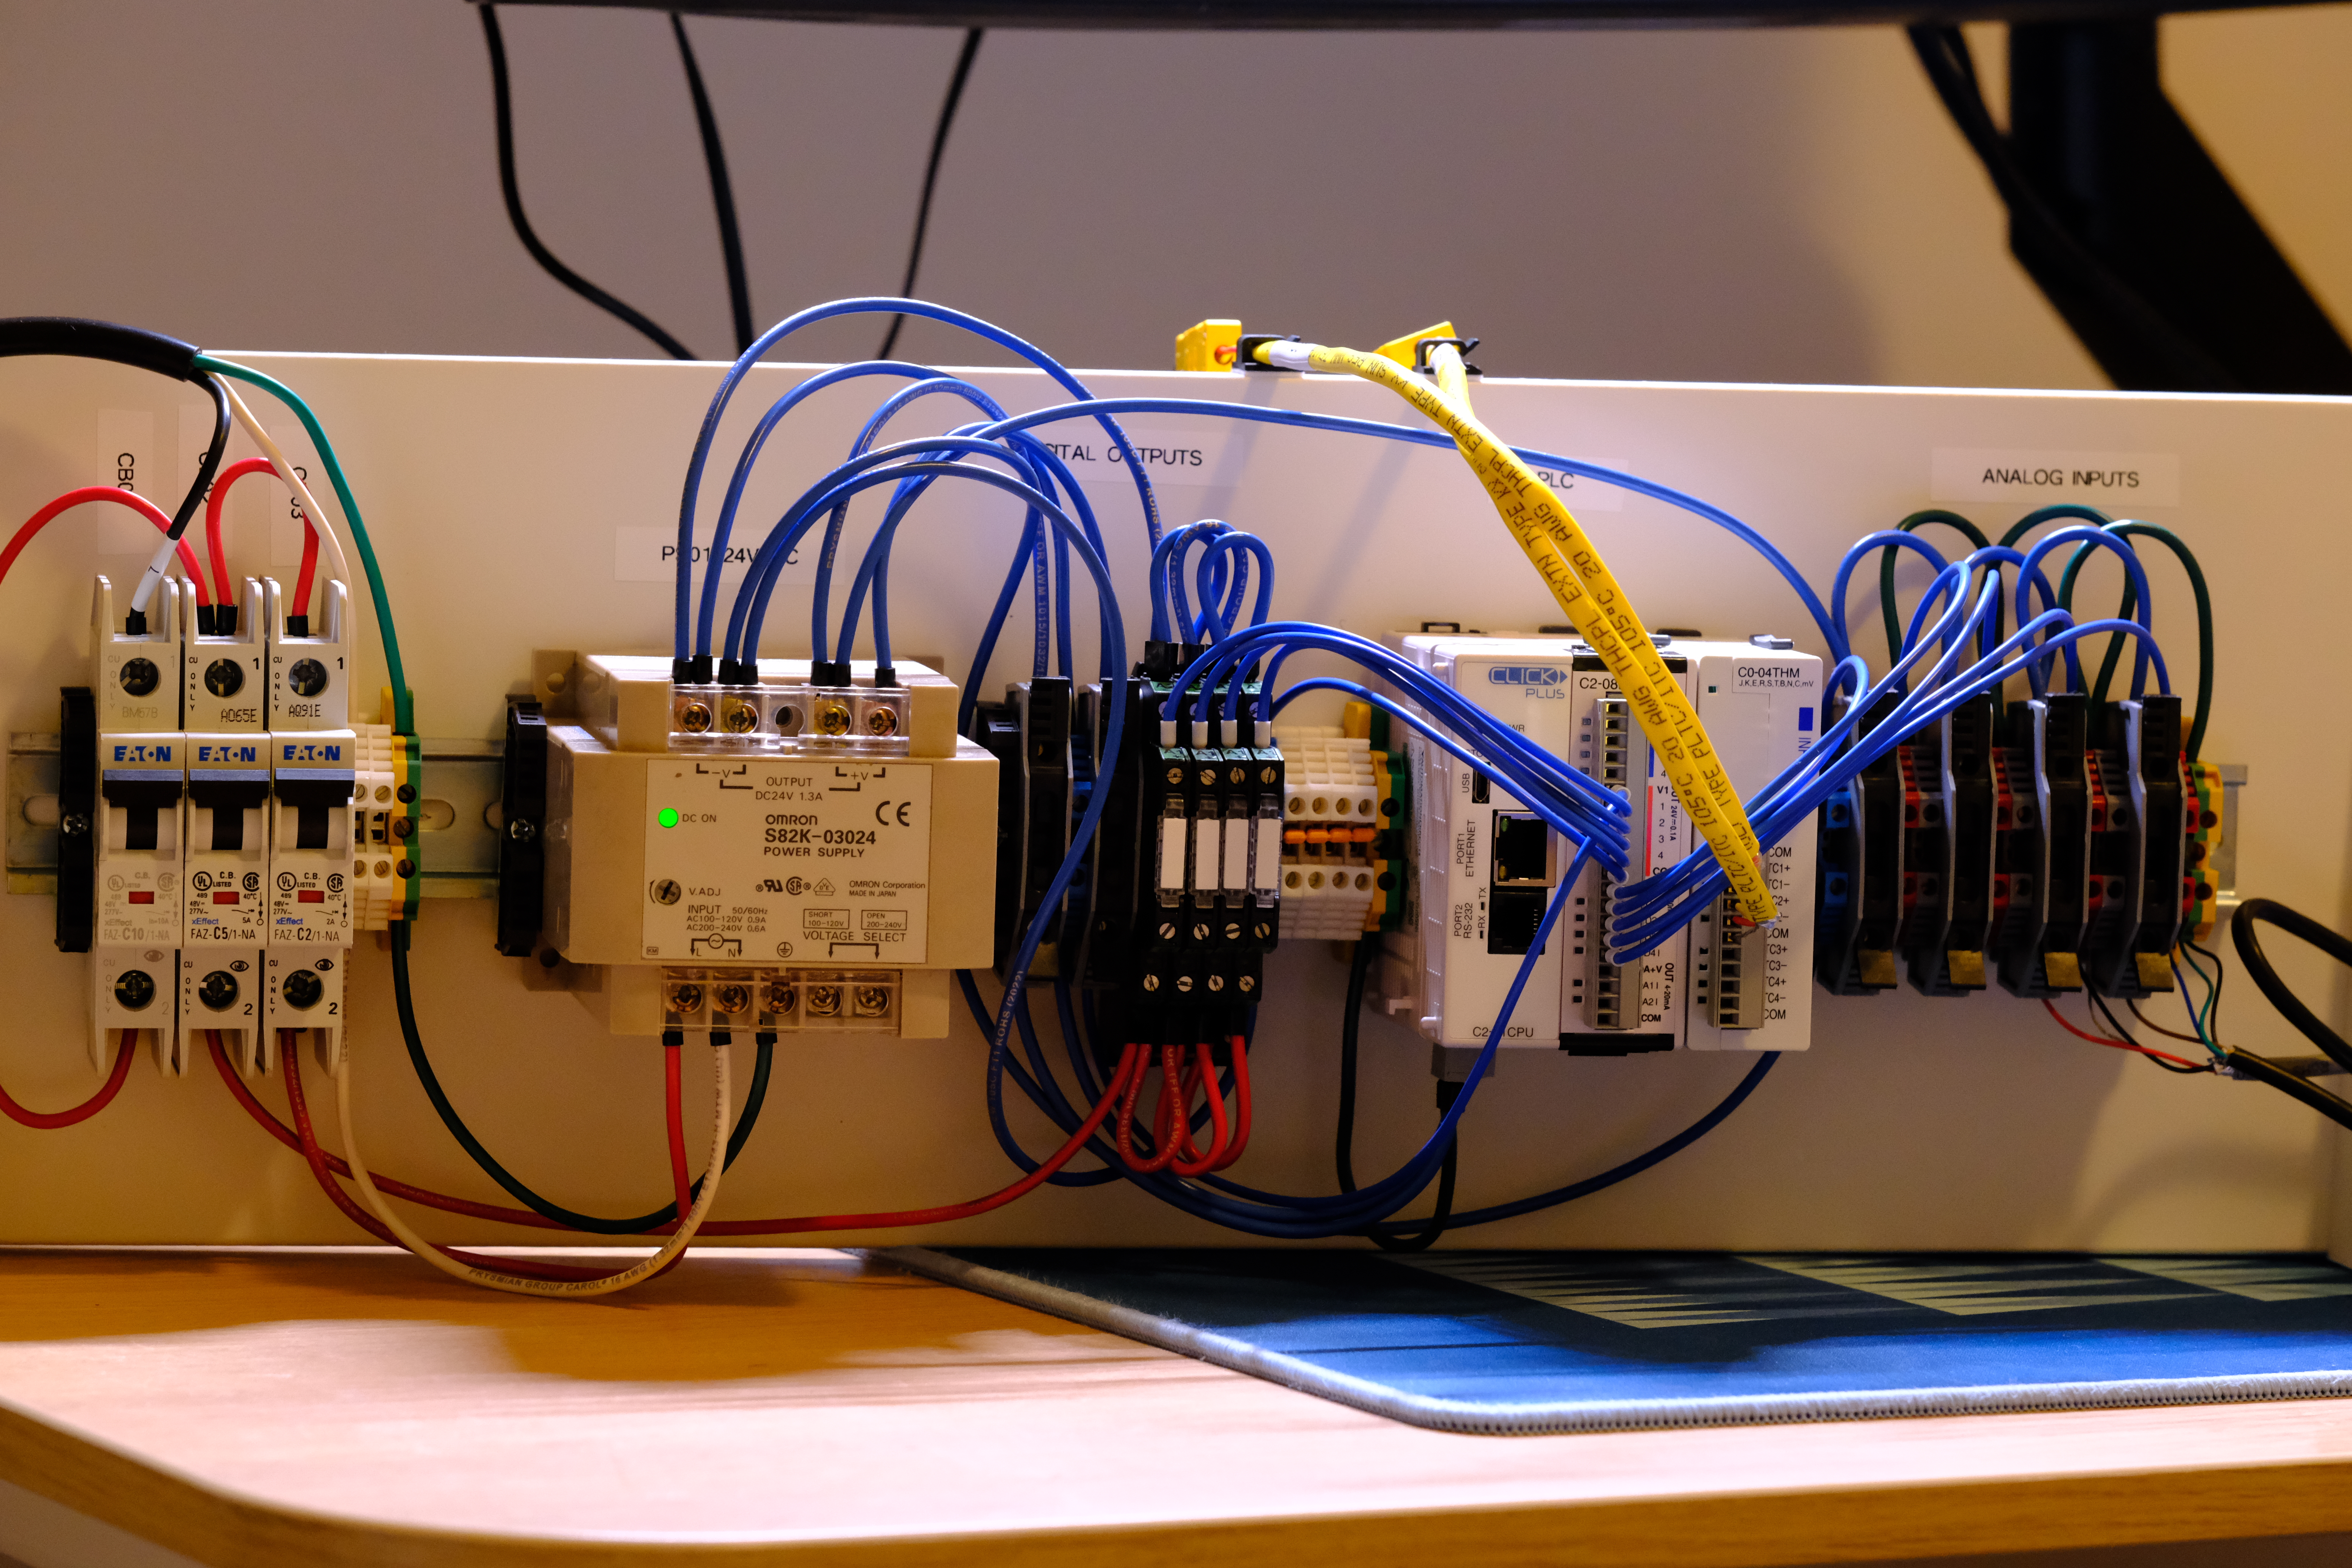
After purchasing the necessary DIN rails, breakers, fuses, power supplies, terminal blocks, and relays, we can set up our system on a mock “test bench”:
Here’s where you can really appreciate the convenience of industrial control panels. Everything here is mounted on a DIN rail, a piece of steel channel 35mm wide that allows users to switch out any component as needed. All wires are terminated at screw-in terminal blocks, meaning things can be re-wired quickly without soldering, easily diagnosed with a multimeter, but still be secure enough not to come loose from vibrations.
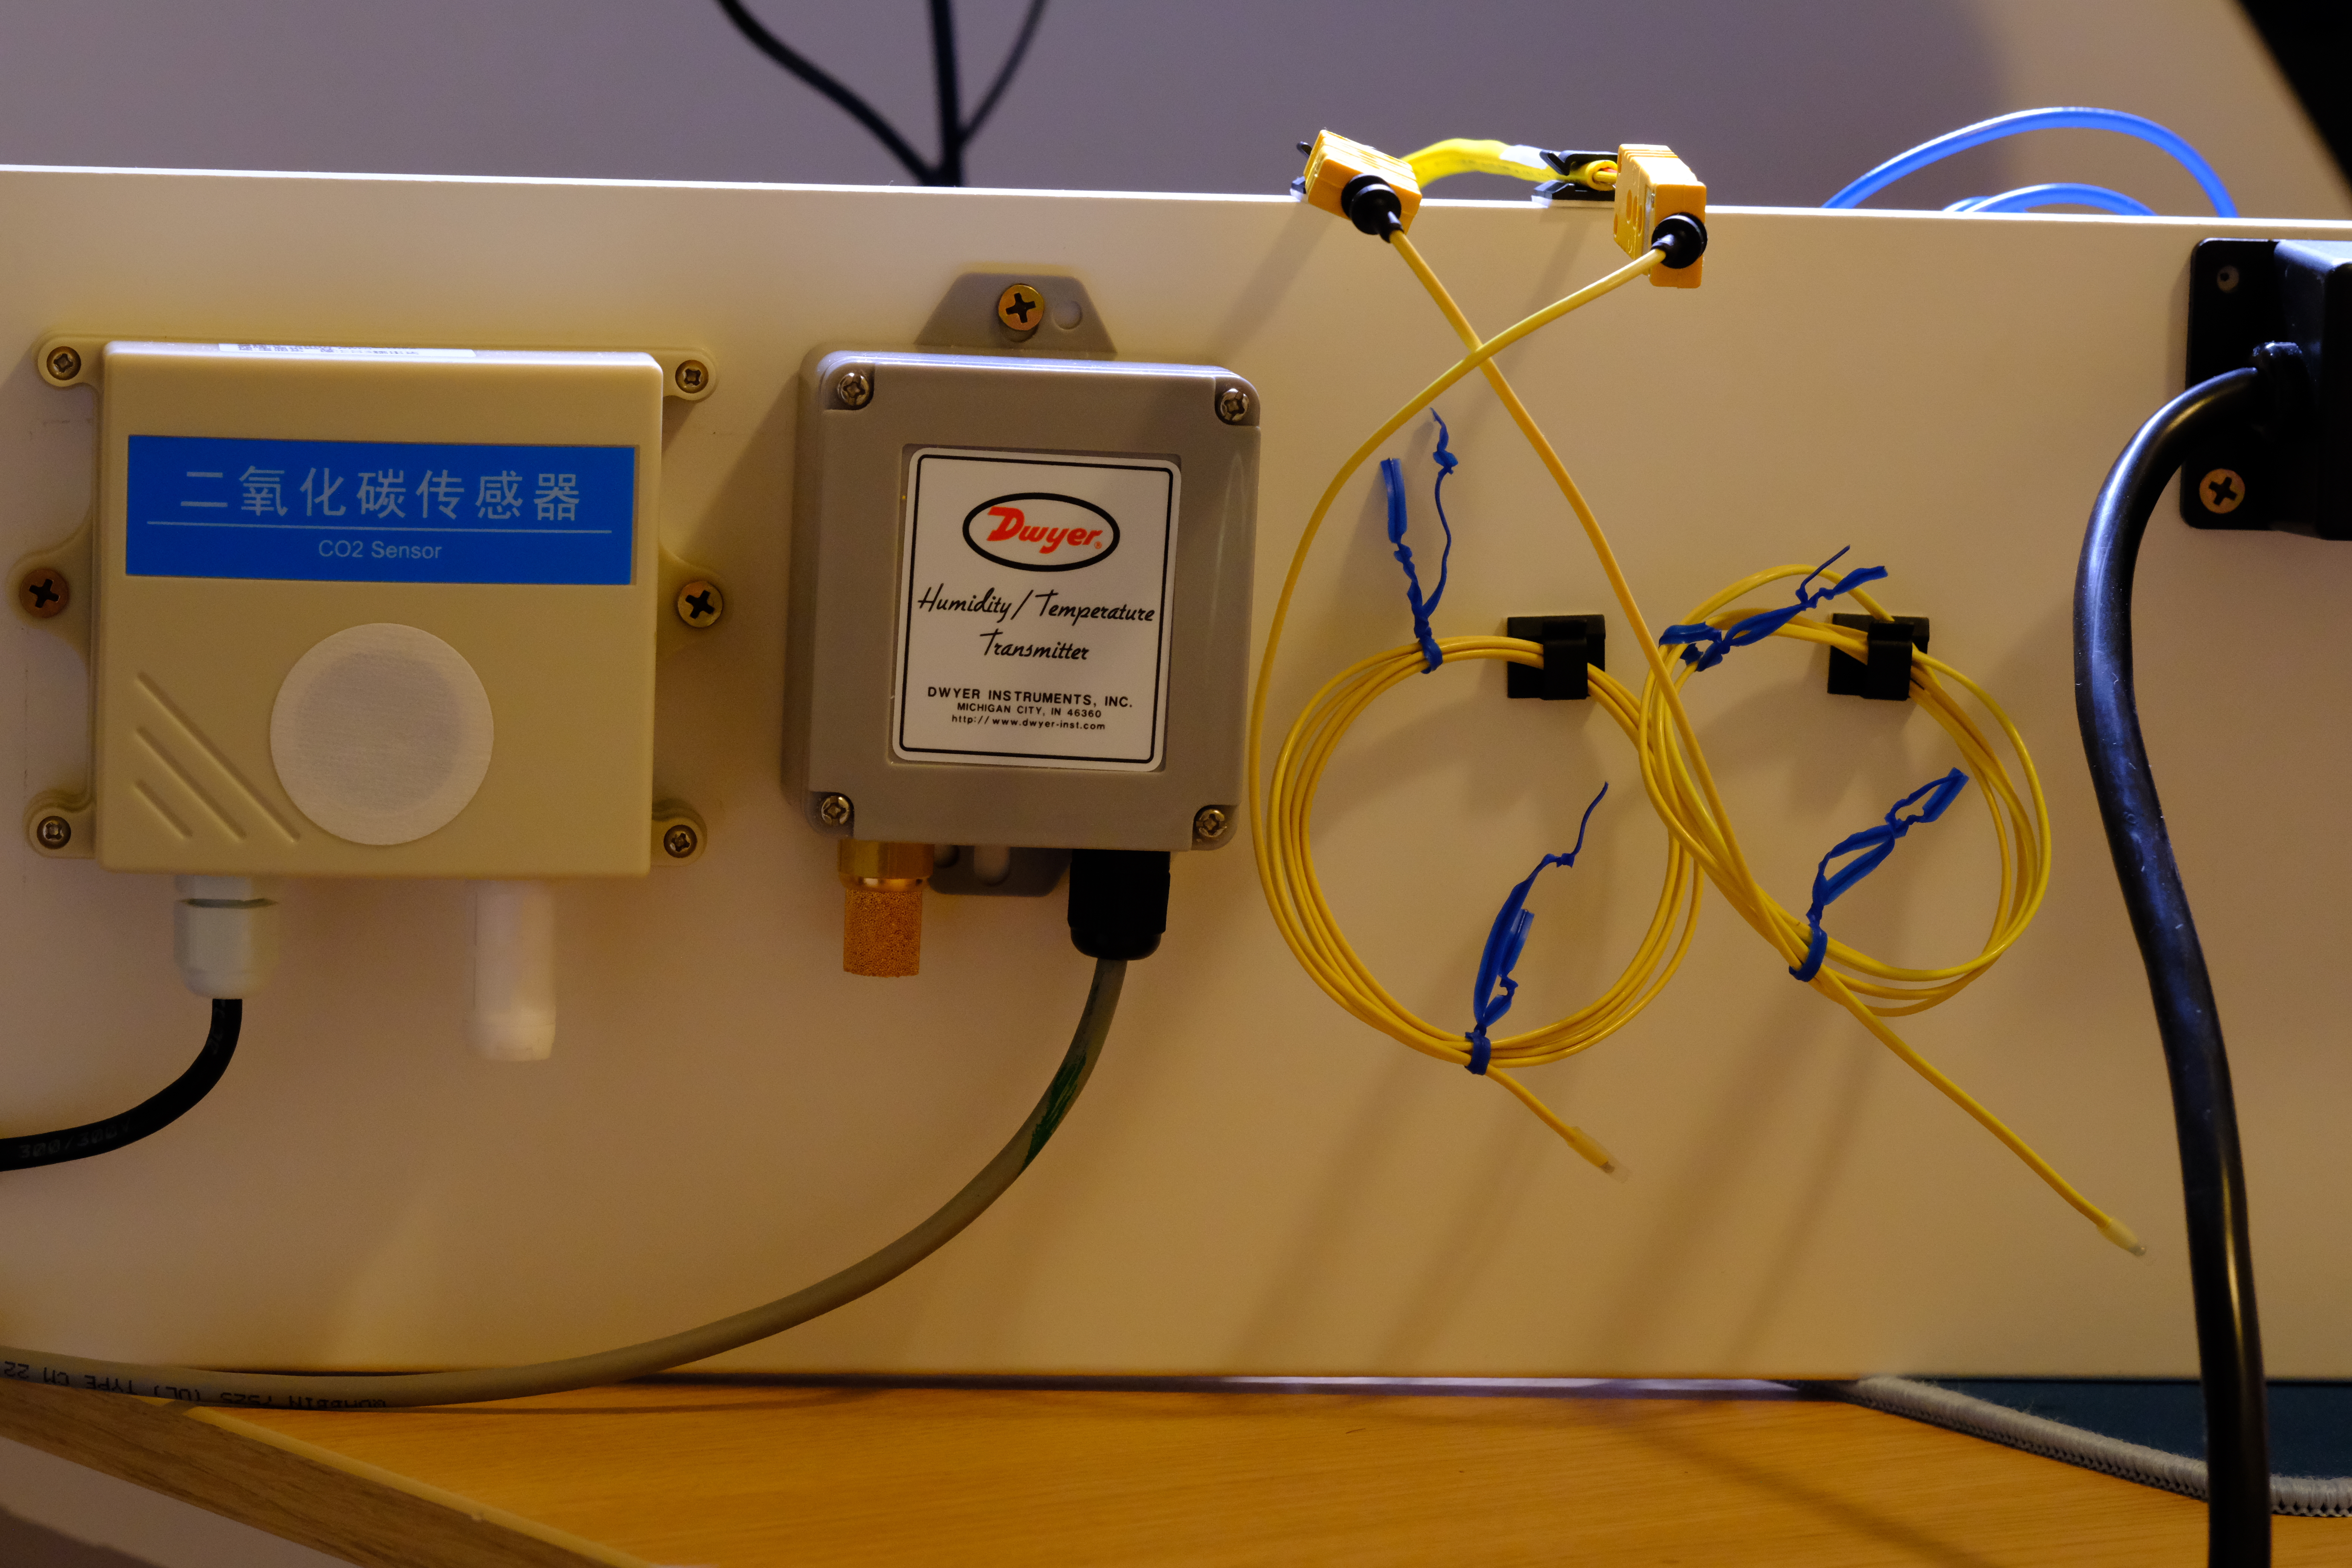
On the back of the test bench, we’ll mount our sensors. These would normally go into the ‘field’, in our case, the koji room.
Next Steps and Notes
That’s it for now! I’ll do some basic testing on this test bench before transferring it to a proper electrical enclosure, with some additional functionality.
I’ll be using this PLC to control a “general purpose” solid-state fermentation room, in order to produce time-dependent temperature/RH/CO2 profiles for koji, natto, and mushroom growing.
This post barely scratches the surface of the capabilities of PLCs. I won’t be going into any wiring details, electrical connections, how relays work, etc. If you want to learn more, see the ‘References’ section below.
A few final notes:
- There are plenty of “budget” PLCs out there. I haven’t worked with all of them, so I can’t really offer my opinion on them. Certainly Koyo Click and Productivity Open, both offered by AutomationDirect, are the cheapest.
- Having gone through this exercise, I’m not really sure what the best way of measuring temperature is for koji applications (TCs vs RTDs vs others). I might try multiple methods, just for fun.
- If you’re looking to buy PLC, automation, and control panel components, I found AutomationDirect, RS Components International, and DigiKey to be the best. Looks like McMaster-Carr no longer sells to individuals, and Amazon products are shoddy at best (usually missing CSA/UL labels, certifications, etc.) Used stuff is also a great option!
References
In the world of industrial automation, there is a famous, free, 3000+ page PDF by Tony R. Kuphaldt called ‘Lessons In Industrial Instrumentation’ which covers pretty much everything about PLCs and industrial controls.
 Keith Wong