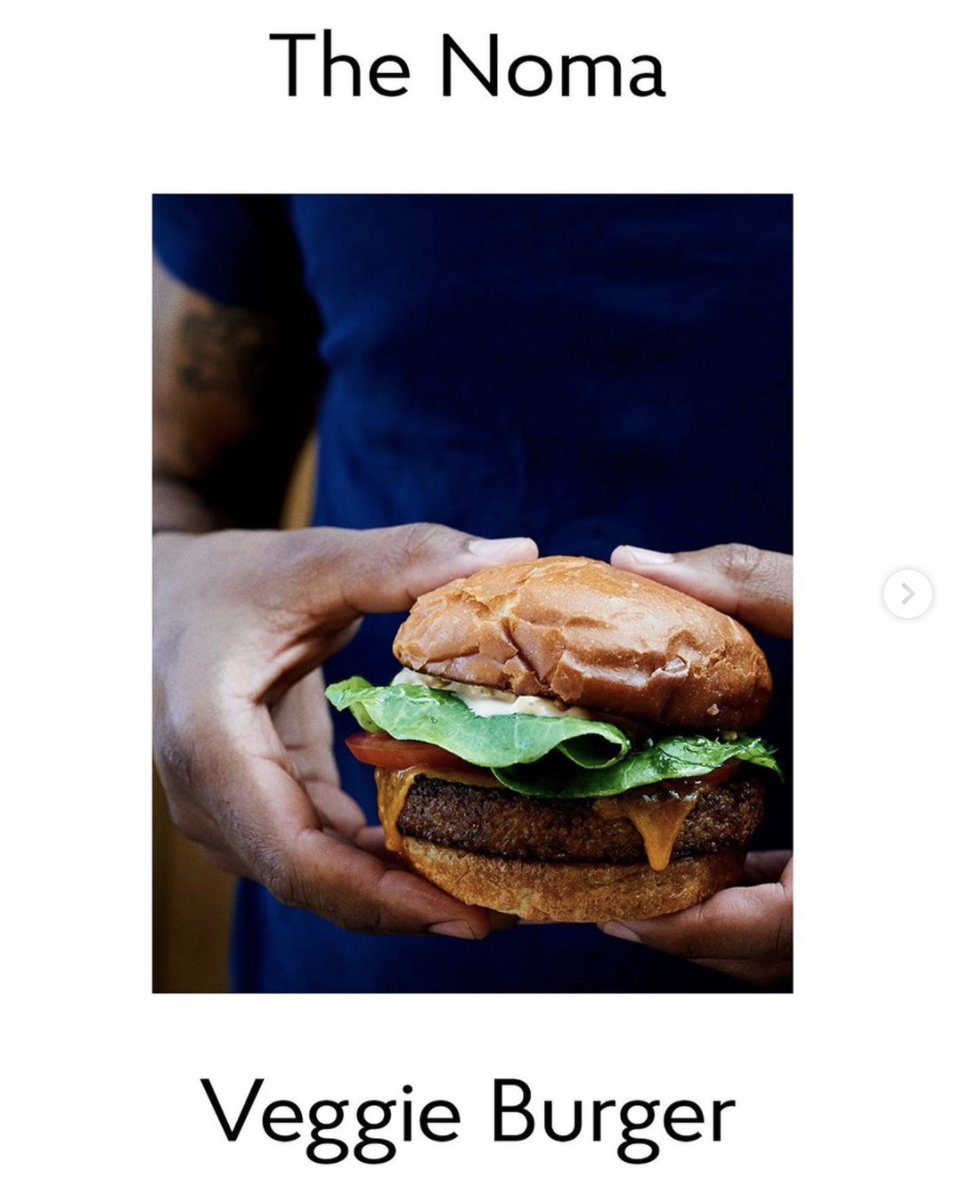
I recently got my hands on some Rhizopus Oryzae spores from mycoboutique.com. Traditionally, R. oryzae has been used to make tempeh. I’ve been making soy tempeh at home, which has been very tasty and better than store-bought tempeh, except for convenience (but whatever, I enjoy growing mold). The folks over at Noma had a different idea with what to do with R. oryzae: use it as a binder for a plant-based burger:
 From Noma’s Instagram
I wanted to try this ferment at home, and test out my new RaspberryPi camera. The camera is surprisingly good quality, and there is a nice Python library, picamera , to create a time lapse program that can run continously on the RaspberryPi. Below is my super janky photo studio that I set up in my incubator. The real work is being done by my helping-hands soldering tool:
 My incubator’s improvised photo studio. A helping-hand tool is holding up an LED light, a RaspberryPi, and a RapberryPi Camera.
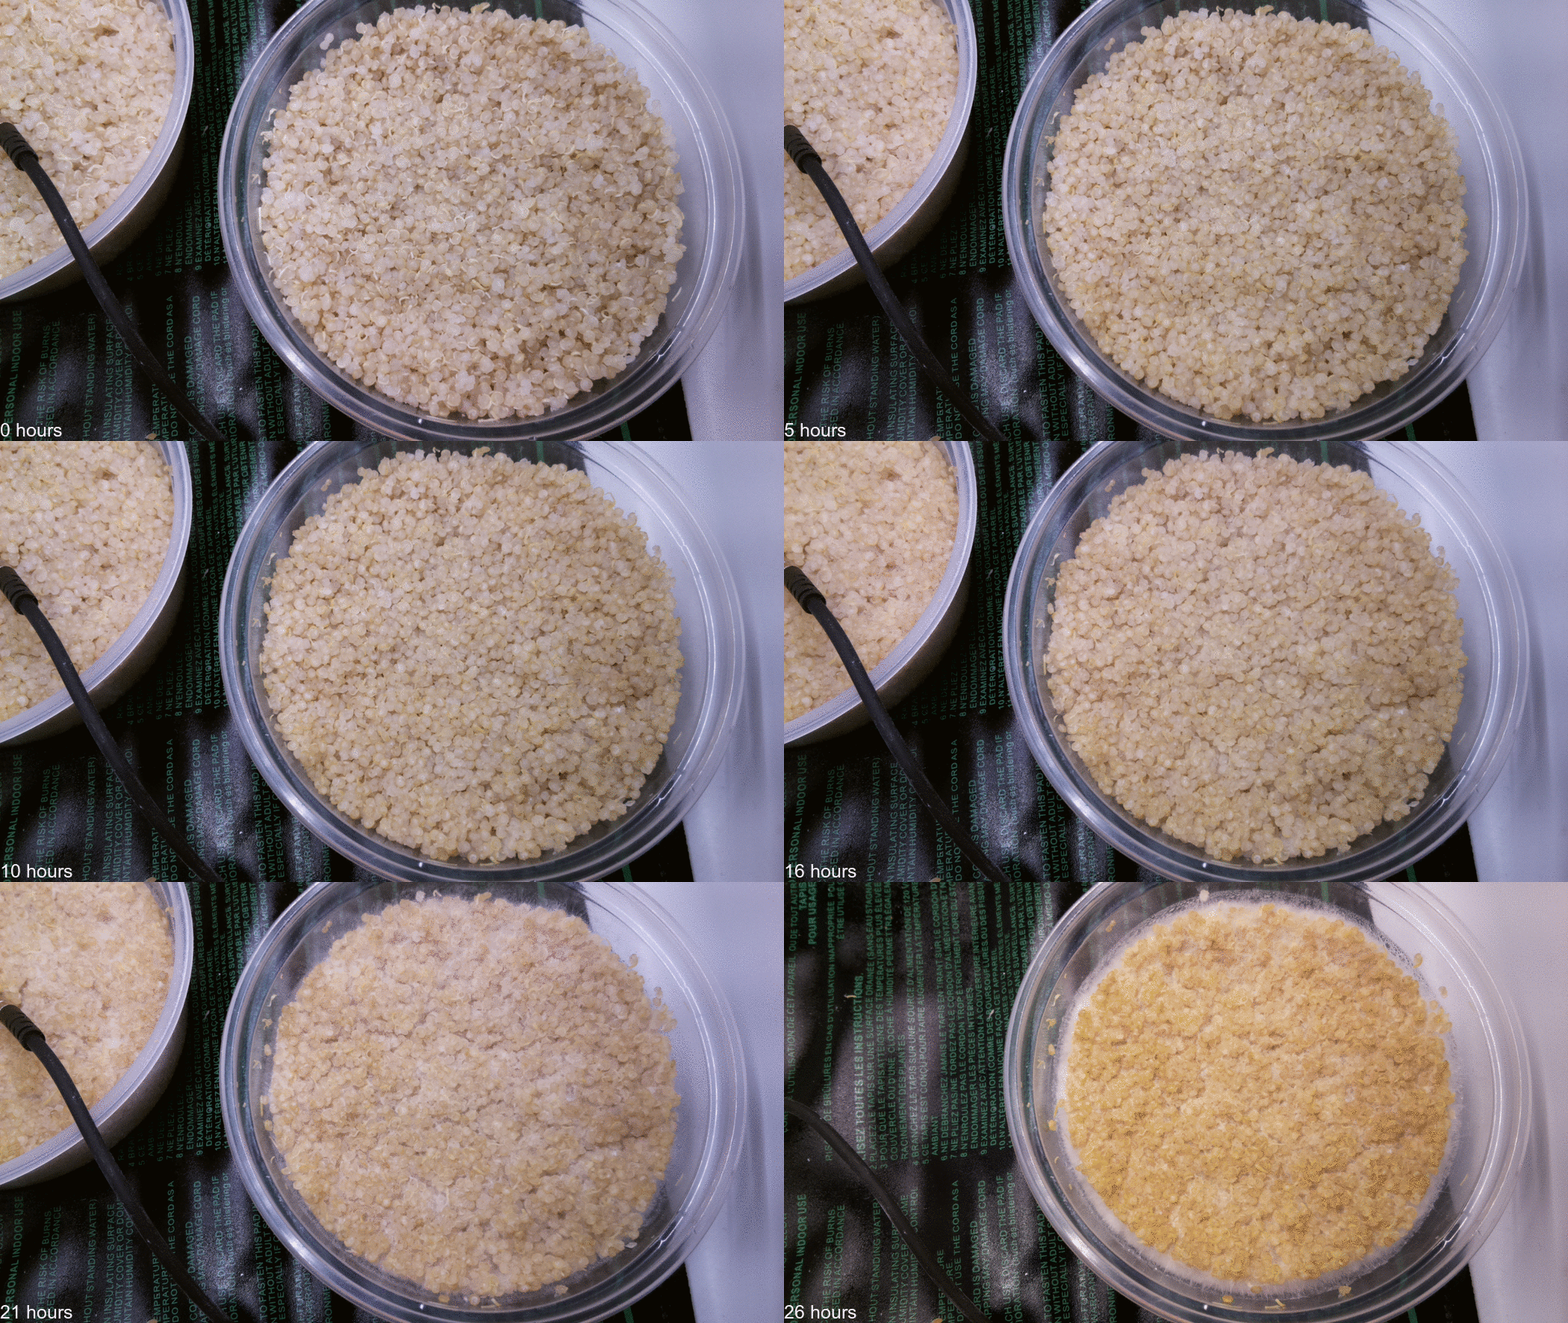
The ferment took about 22 hours at 30℃, but the temperature of latter half of the ferment was significantly higher due to the breakdown of the substrate. By taking a photograph every 5 minutes, I could use imagemagick to create an animated gif of the growth over the duration of the fermentation. See below:

If that went by too fast, here are the first and last photos, side-by-side:
 Initial patty vs 26h fermented patty.
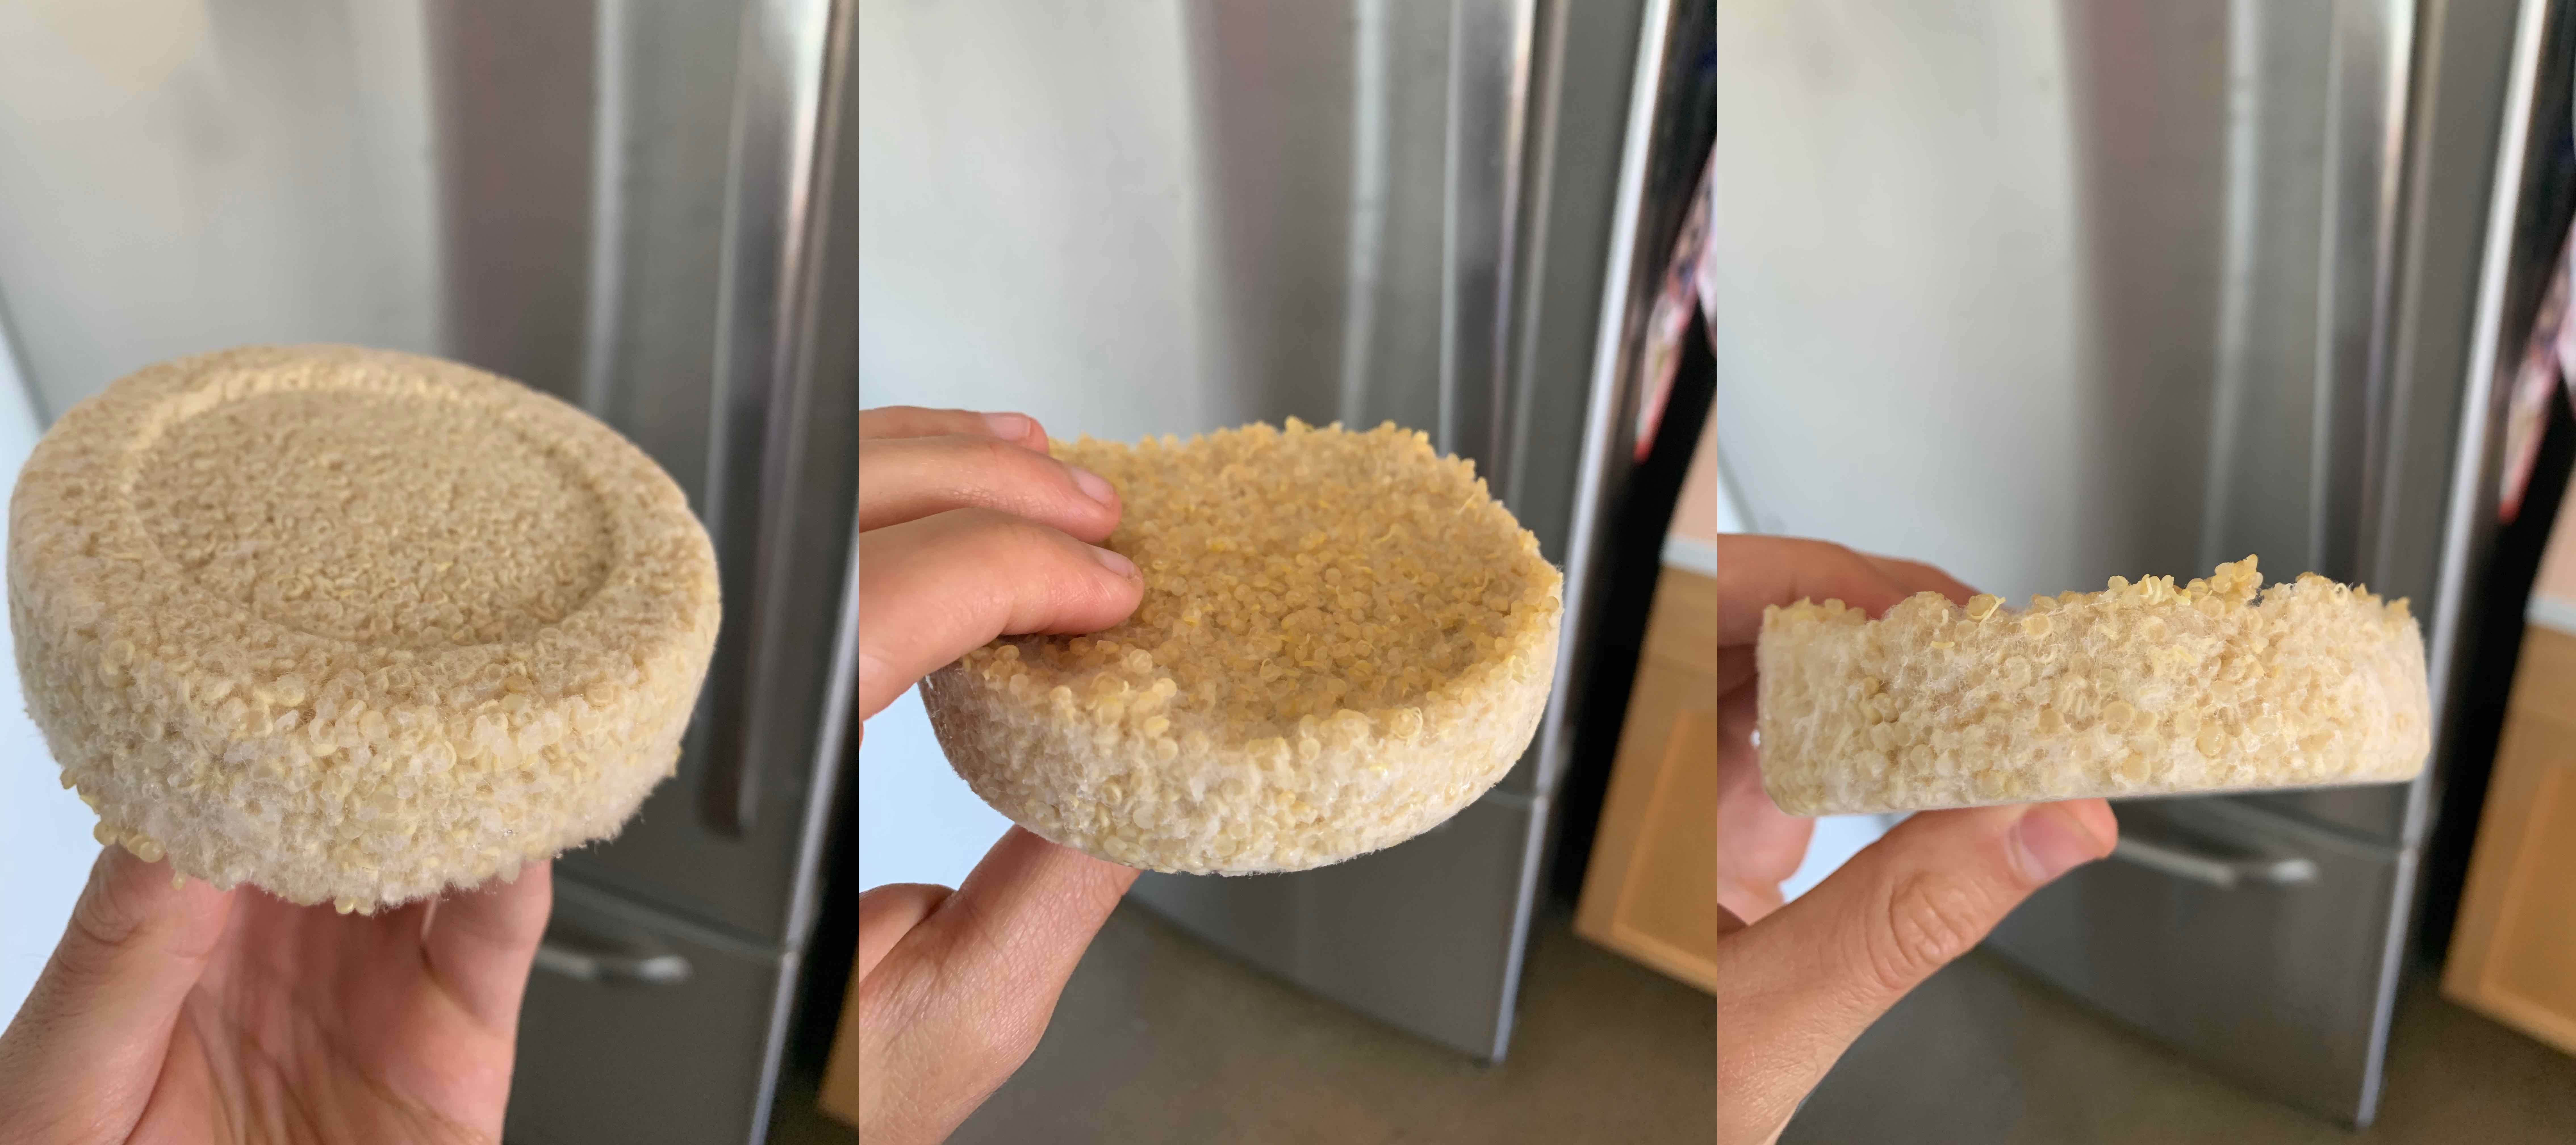
In the end, I had five nice “quinoa patties” bound together by the mycellium of R. oryzae. The smell was sweet and mushroom-y. The patties were very firm, easy to handle, and transport as a single piece.

I fried them in a pan with some olive oil, and seasoned them with yeast garum and soy sauce (as Noma recommended in their post). I served them on a bun with burger toppings. The taste: delicious! The mouthfeel: great! The quinoa patty did not crumble at all during cooking or eating. It had a firm texture - not mushy like most veggie burgers. In fact, I thought this was one of the best veggie burgers I’ve ever had.

Recipe
Quinoa tempeh patties
- 1.5 cups quinoa
- 1.5 cups water
- 1/8 cups vinegar (any type will do)
- 1 tsp tempeh starter
- Rinse the quinoa well.
- Added quinoa and water to pressure cooker. Once at high pressure, cook for 2.5 minutes. Let naturally cool to room temperature.
- Add vinegar and combine well.
- Add half the starter, combine; add other half, combine.
- Portion into patty shaped containers. This amount was perfect for 5 old olive containers.
- Ferment, uncovered but in a container, at 30℃ and moderate humidity (I keep a damp towel in the incubator). The temperature will spike after about 18h, so you’ll want to try to keep an eye on it. It’s likely the internal temp will reach close to 40℃ - that’s okay, simply leave the incubator door open.
- The ferment will finish around 25h to 35h, depending on the temperature.
- Cover and store in fridge to stop fermentation.
Burgers
- seasoning: soy sauce mixed with yeast garum and 1:3 ratio, or salt and pepper
- buns and burger toppings
- Add a generous amount of oil to a pan, and turn to medium heat. Once oil is shimmering, add patties.
- Flip once underside is starting to brown (may need to add more oil), and apply seasoning mixture to the top. Flip, and repeat. Let the patties darken more, but careful not to burn.
- Make a burger. Enjoy!
Extensions
I’ve seen others use mung bean with success. I think all that’s required for a good substrate is small, closely packed granules. This provides a more uniform mouth feel. I also think there is the possibility of creating secondary structure. Imagine preparing very thin patties, and letting them ferment to 80% completion. For the last 20%, you stack them ontop of each other (and apply a bit of force). I think this would create a flakey mouthfeel, similar to fish, or a lasanga.
 Cameron Davidson-Pilon