 Cameron Davidson-Pilon
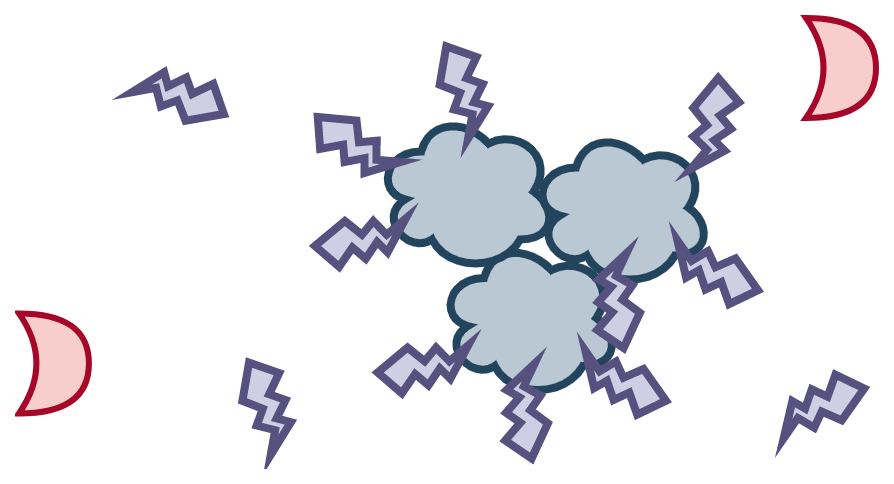
Part of many fermentations is having enzymes break down the substrate into compounds that either i) taste good (proteins → individual amino acids in misos and soy sauces), ii) feed other microorganisms (starches → glucose in sake), iii) physical transformations (protease tenderizing meats). It would be nice to quantify the amount of enzyme available, since this will determine quality and speed of fermentation. Furthermore, there’s no point in spending days preparing koji if our outcome isn’t very enzymatically active!
This post is on my first attempt at an assay¹ to measure protease activity of koji. Mastering a protease assay will allow me to better measure the effects of experiments like adding minerals to koji. For the assay itself, I do have hard constraints of not having a full lab, only my home lab, and a limited budget. Ideally the assay uses accessible reagents and equipment - at most it should take a trip to a homebrew store, a hardware store, and a grocery store only (okay maybe some online lab stores too). And it should take a few hours max to do.
The assay is based on the paper “A Rapid and Inexpensive Procedure for the Determination of Proteolytic Activity” (sounds ideal!), with some modifications. The central idea is that proteases introduced into milk will cut into soluble milk proteins (specifically 𝝹-casein), and the now unstable and insoluble milk proteins will start to clot. See figure 1 below. More enzymes (or more active enzymes) means faster cutting, hence faster appearance of clots.
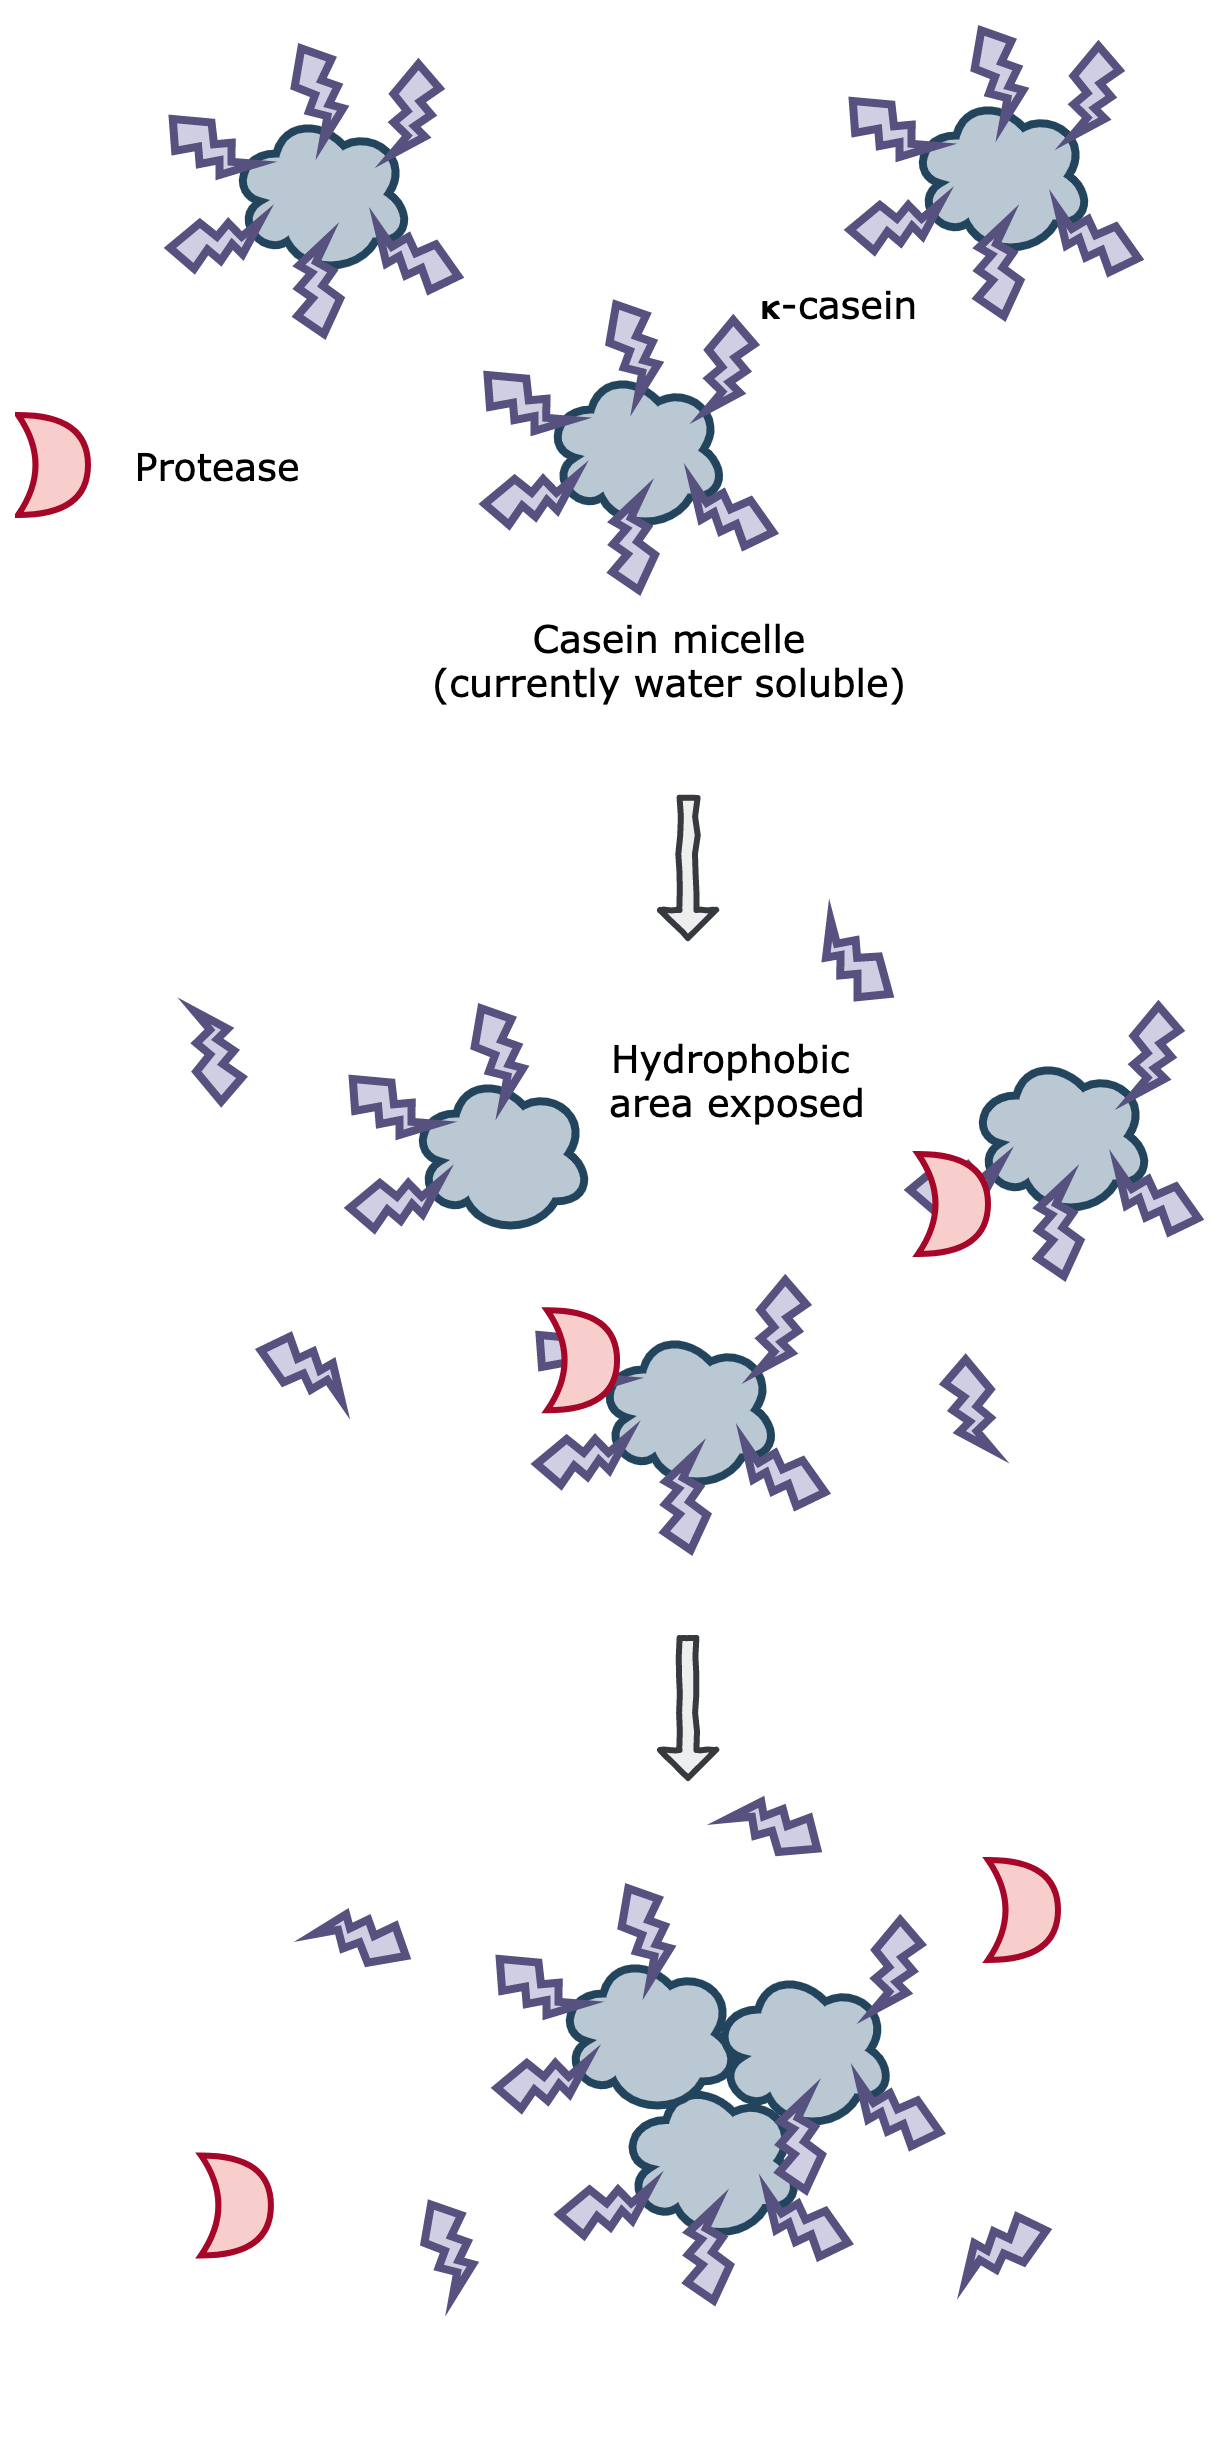 Figure 1. The casein micelles are water soluble when stabilized by 𝝹-casein. A protease will cut the 𝝹-casein, which exposes a hydrophobic core. These hydrophobic cores stabilize by aggregating together, which are large enough to be visible to the eye.
Our modified assay at a high level follows these steps - we’ll explain each in detail in the next section.
- Extract enzymes from the koji. This is our crude enzyme extract.
- Set up a water bath at 40℃.
- Add skim milk, pH buffer, and crude enzyme extract into vials. Place in water bath and start a stopwatch.
- At first detection of coagulated particles, stop the stopwatch and record time.
Experiment
-
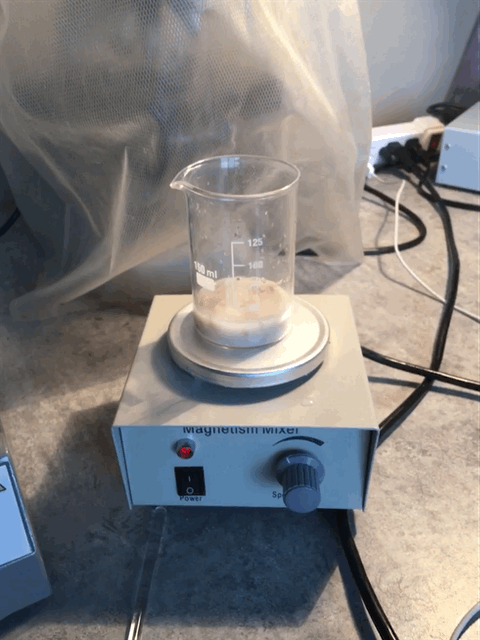
Prepare the crude extract. I measured 8 grams of wet koji (from a previous koji prep) and squeezed in with my fingers until homogenized. I put it into a beaker along with 20ml of pH 5.2 buffer² and a stir bar. I stirred it for 15m.
 My wife said: “So I took my dog’s puke and…”
 - I set up a 40℃ water bath using a table top hot plate.
- To five labeled vials, added the following:
- 3ml milk, 2ml water (control A)
- 3ml milk, 2ml pH 5.2 buffer (control B)
- 3ml milk, 2ml pH 5.2 buffer
- 3ml milk, 2ml pH 5.2 buffer
- 3ml milk, 2ml pH 5.2 buffer
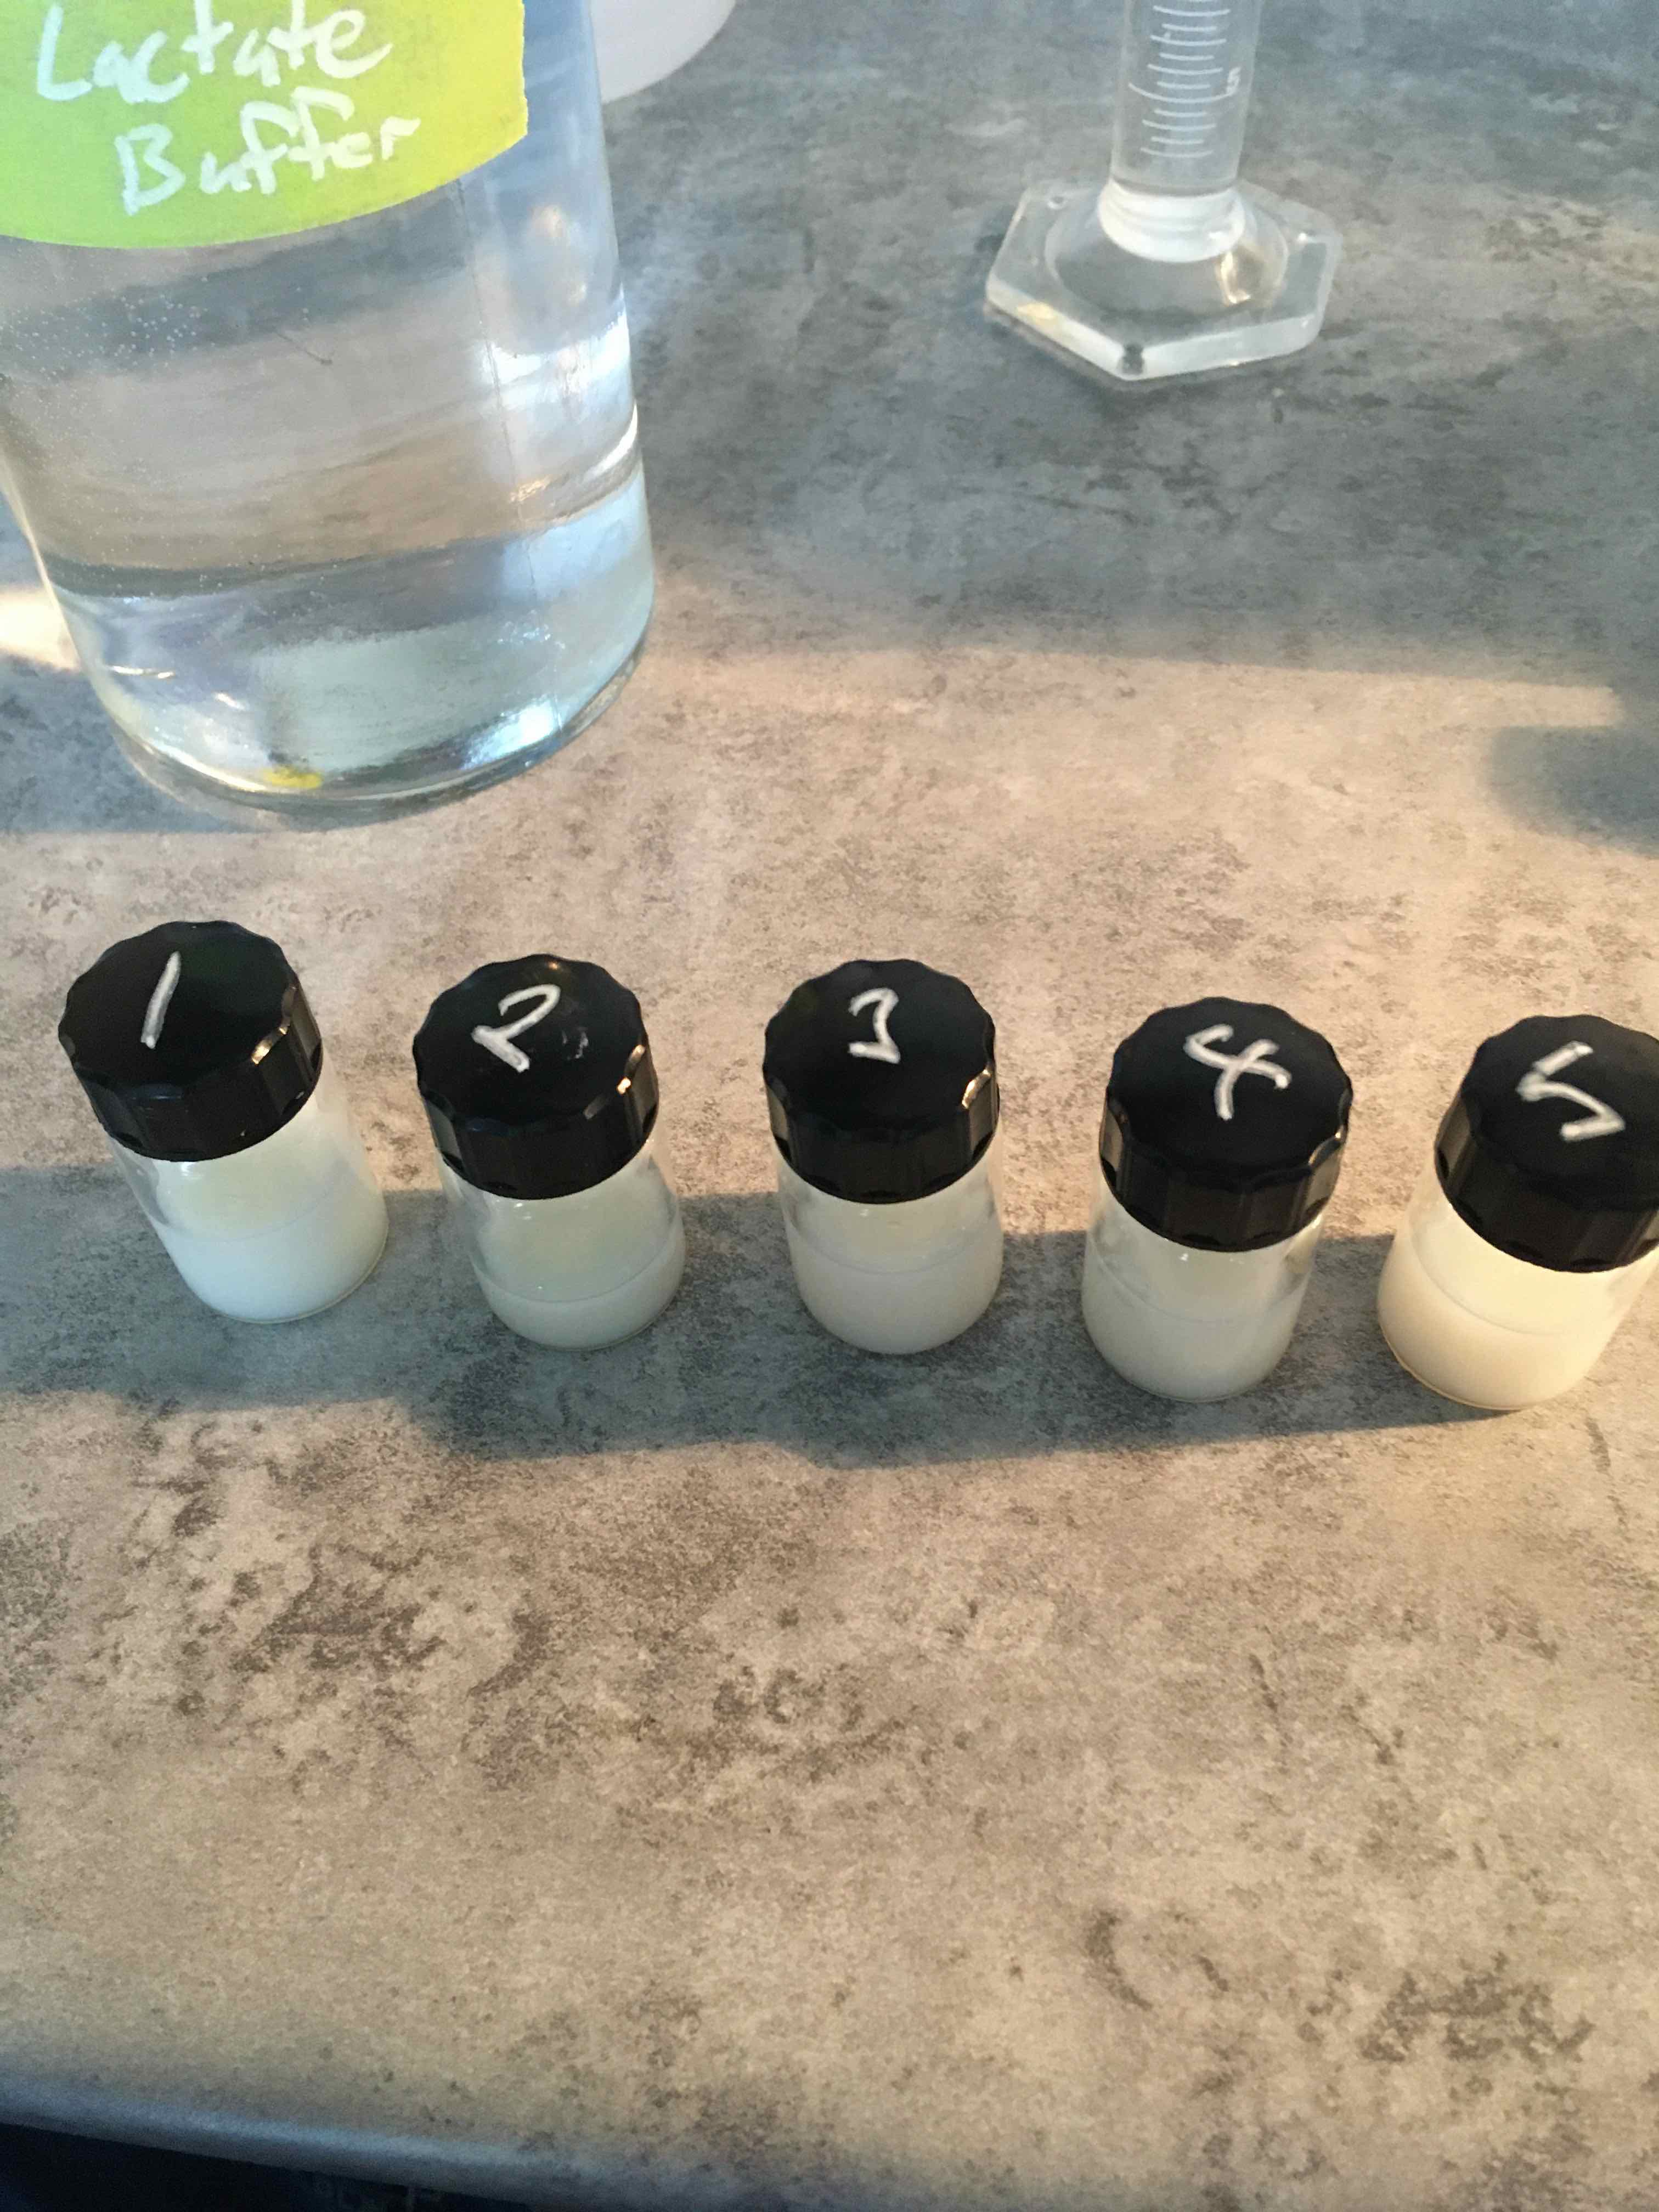
- I added all five vials to the water bath and let sit for 10m to fully heat to 40℃
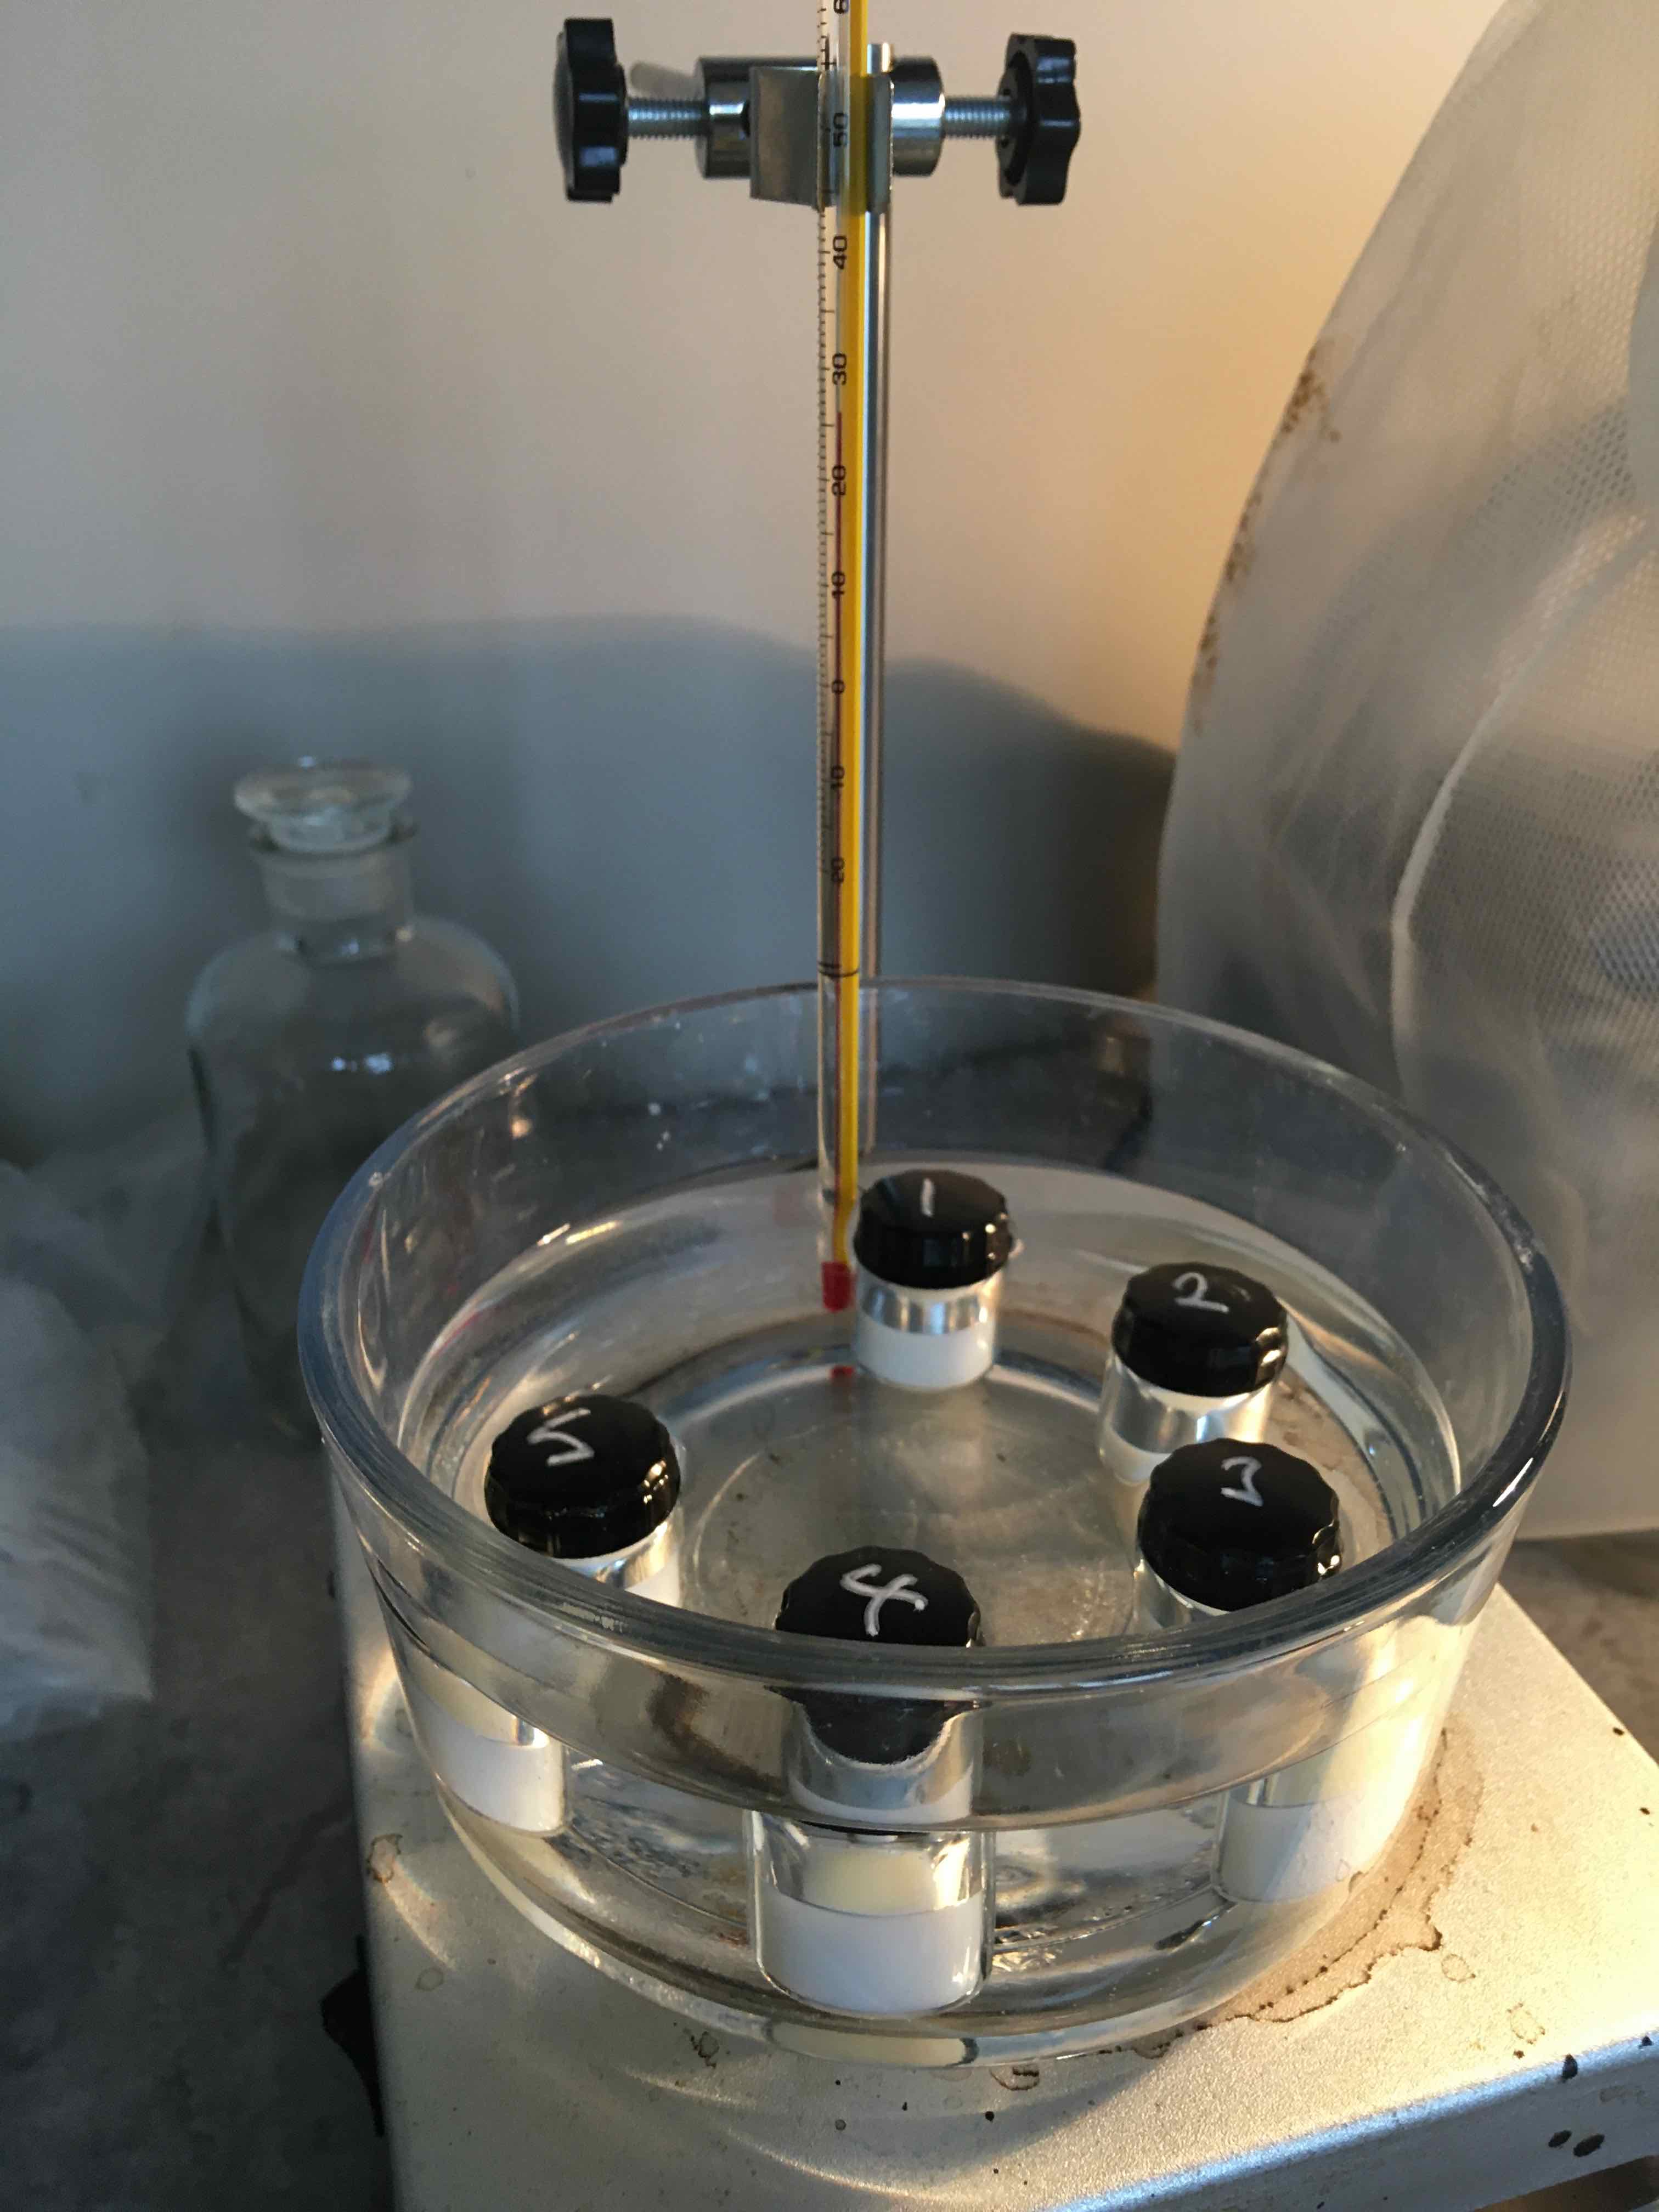
- I added 1ml of crude enzyme extract to vials 3, 4, & 5. Put back into the waterbath. I started a stopwatch.
- Every few minutes, I would pick up a vial, shake it, and try to observe any coagulation. Shining a light on the vial helped see any floating particles.
- At the first sign of coagulation, I record the time on the stopwatch. My times were: 28:29, 30:18, and 31:50. Average (std. dev): 30.2 (1.4) minutes.
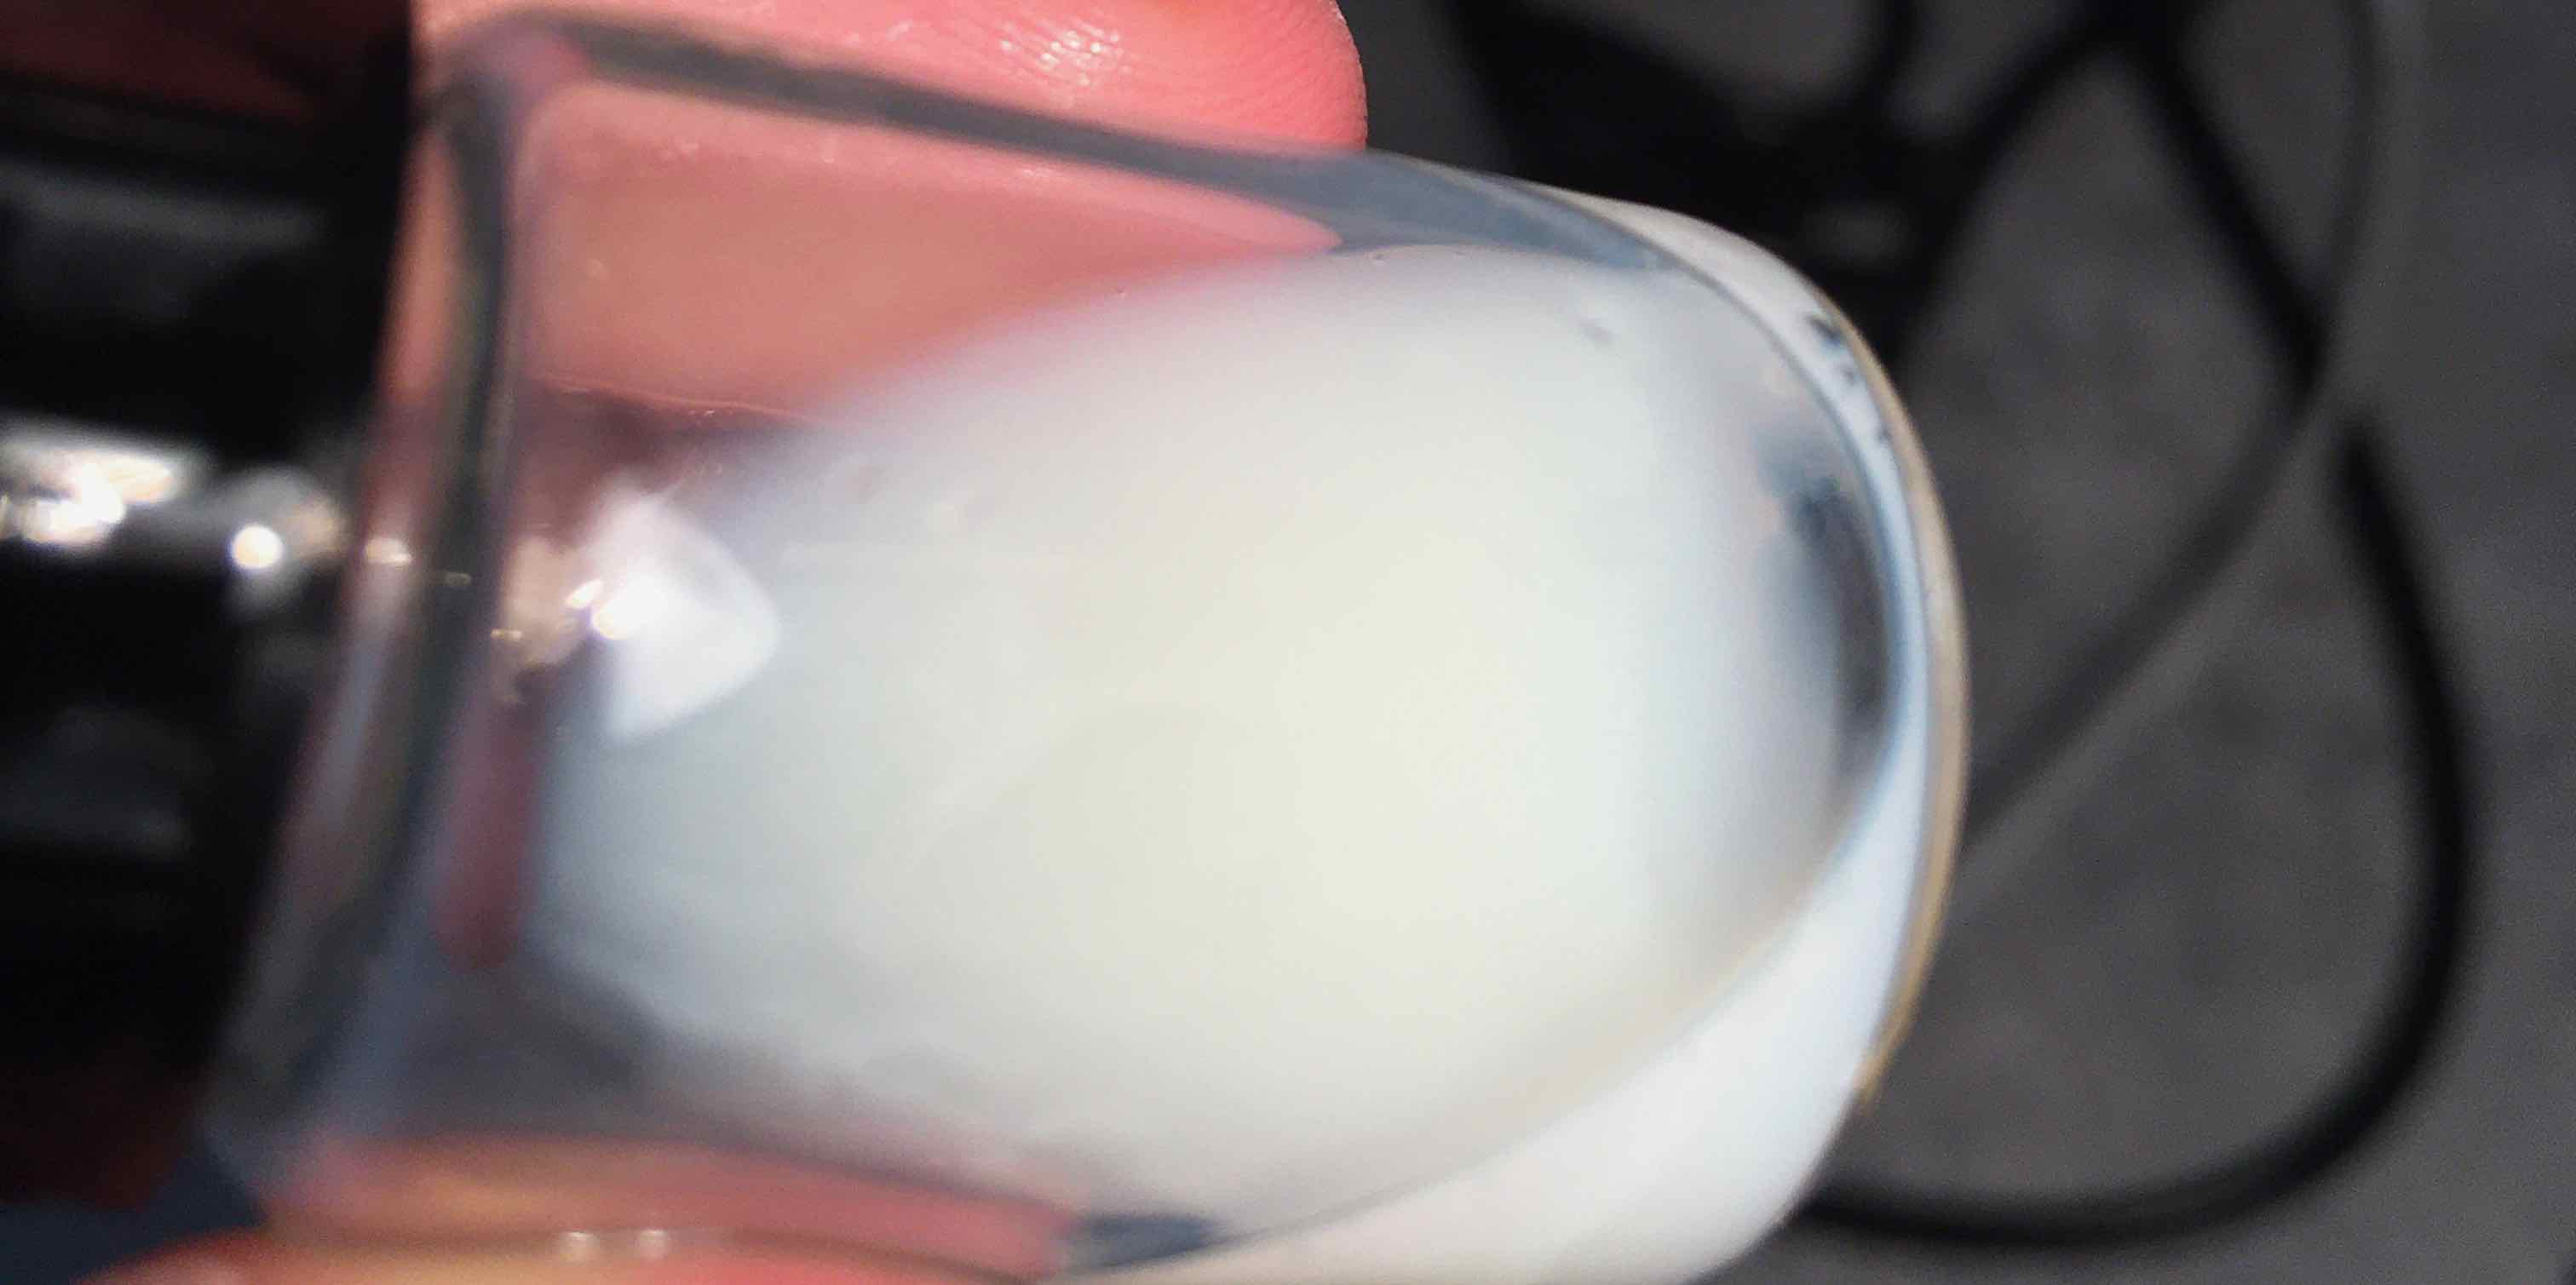
 Example of coagulated milk (well past its first coagulation detection)
Some thoughts and discussion
An important question to ask is: how do we know the heat (40℃) or the pH (acidic at 5.2) didn’t cause the coagulation? That’s why I added two control vials. The first vial was to test if heat would have any coagulation effect. The second vial tested the pH. At the end of the experiment, neither showed any coagulation - see figure below.
 One of the control vials
What surprised me was how quickly the state of the milk changed. It felt like within a minute, the milk turned from “normal” to “completely coagulated”. I don’t know why this change occurred so fast - anyone have an idea?
This test has some flaws though. For one, it measures a very specific proteolytic action - cutting a 𝝹-casein in a specific location. Proteins that koji enzymes encounter in a ferment might look very different from 𝝹-casein. Further more, there are a broad suite of protease produced by koji: some more acidic-tolerant than others. However, this test measures activity at specifically pH 5.2. Ferments may have different pHs where other proteases are more active.
The variance of my samples is pretty okay, too. I will likely retry this entire experiment to measure the variance between experiment trials. I’ll need low variance between trials to be able to rely on an assay like this.
References
- Castro, S., & Cantera, A. M. B. (1995). A rapid and inexpensive procedure for the determination of proteolytic activity. Biochemical Education, 23(1), 41–43. doi:10.1016/0307-4412(94)00104-w
¹ An “assay” is a laboratory test.
² A buffer is a designed solution that resists changes to pH. So when I use a buffer as a solution, I can expect that adding other things to it won’t greatly change the pH.